
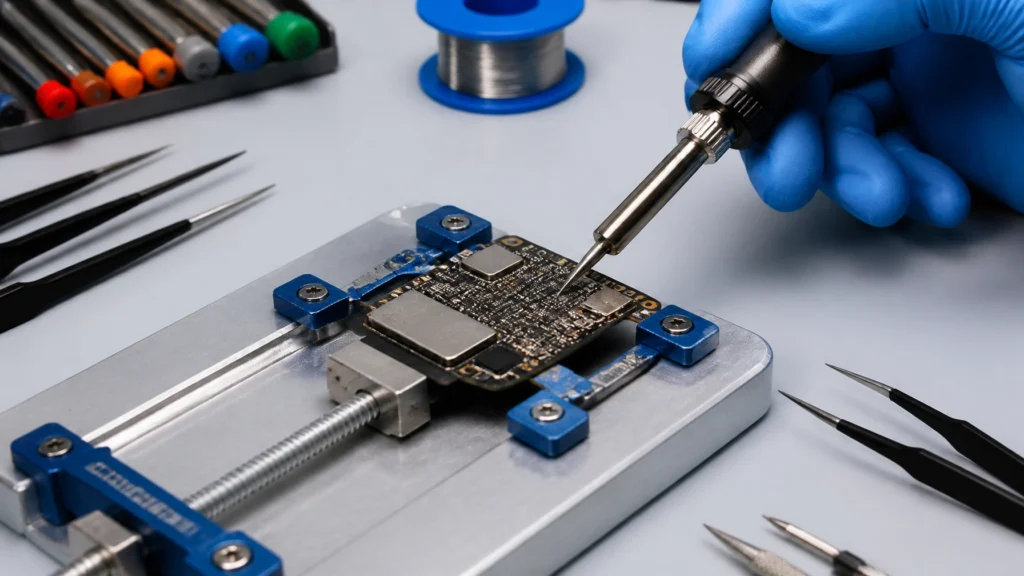
How to Choose Repair Shop You Can Trust
Learn how to choose repair shop services you can trust, with clear tips on pricing, speed, warranties, data security and local expertise.
You knock over a mug, the keyboard takes the hit, and your stomach drops before the tea's even stopped running. That's usually the moment people search for a water damage laptop fix and get buried in lazy advice about rice, hairdryers, and wishful thinking.
Here's the plain truth from the repair bench in Barrow-in-Furness. A laptop can sometimes survive a spill, but only if you treat it like an electrical fault first and a drying job second. The primary danger isn't just the visible liquid. It's the power still flowing through the board, and the residue left behind once the spill dries. Tea, coffee, juice, cola, and salty moisture are far worse than people think because they leave contamination that keeps causing trouble long after the surface looks dry.
If your laptop is wet right now, move fast. Don't test it. Don't press keys to “see what still works”. Don't plug in the charger. The first job is to stop current moving through contaminated parts.

Those three actions matter more than anything you do next. iFixit's liquid-damage guidance puts immediate power isolation first because live current plus liquid is what turns a recoverable spill into a board-level short and corrosion problem that spreads through the machine during and after the accident, especially with contaminated liquids like tea or coffee (iFixit liquid damage guidance).
Once power is isolated, tilt the laptop so the liquid drains away from the keyboard and main board, not deeper into it. Open it enough to let fluid run out, then hold it in a stable inverted tent shape if that helps drainage. Blot the outside with a lint-free cloth or kitchen roll. Don't wipe aggressively. You're trying to lift liquid away, not shove it through the keys.
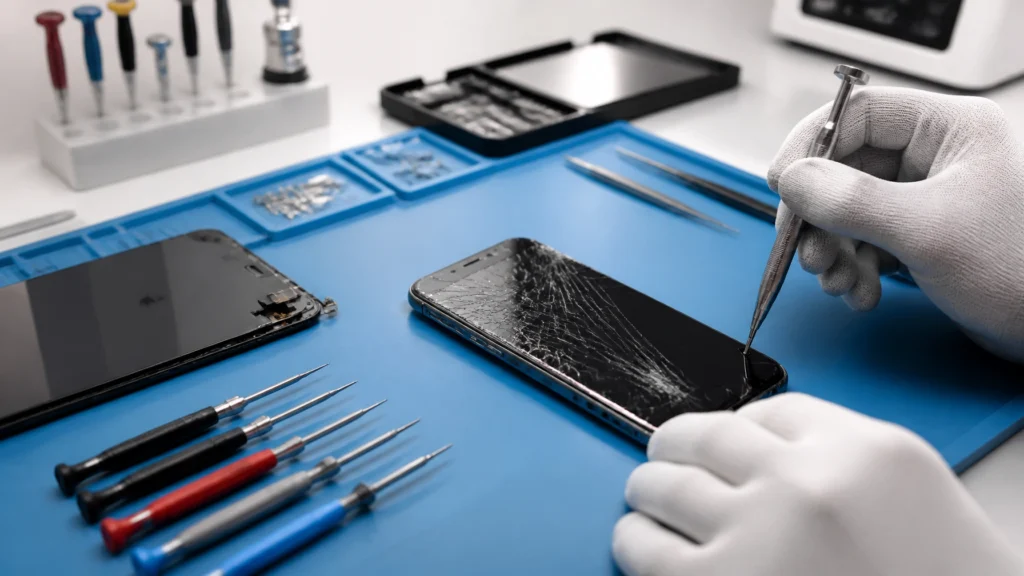
If you've spilled on a phone as well, the same logic applies. This guide on fixing a wet smartphone for DIYers is worth a read because the core rule is identical. Power off first, then deal with contamination.
Practical rule: The first minute is about stopping electrical damage, not making the laptop look dry.
Skip these mistakes:
If you want a second quick checklist for the same kind of emergency response, this page on what to do fast after phone liquid damage follows the same stop-power-first thinking.
Drying matters, but drying alone is not the job.
Tea, coffee, cola, and anything with milk or sugar leave a film behind. Even plain tap water can leave minerals. In the workshop, that residue is often what finishes the board off a few days later. The laptop seems to recover, then the keyboard starts misfiring, the charging circuit goes intermittent, or corrosion appears around a connector.
Rice does nothing for sticky residue or conductive contamination. It also gives people false confidence, which is usually the bigger problem. A machine can feel dry on the outside while liquid is still trapped under the keyboard, inside connectors, or along the board edges.
Around Barrow, the usual culprits are builder's tea, coffee with sugar, and the odd energy drink. Those spills do not dry clean. They dry into grime that keeps attracting moisture from the air and starts corroding contacts.
If you only dry the laptop and never remove the spill residue, you have not finished the repair attempt.
A careful home clean is possible on some models. It is not wise on all of them.
If the bottom cover comes off with standard screws and the battery connector is accessible, a limited clean is realistic. If the laptop is glued shut, uses fragile clips, has a keyboard riveted into the top case, or is still under warranty, stop before turning one problem into three.
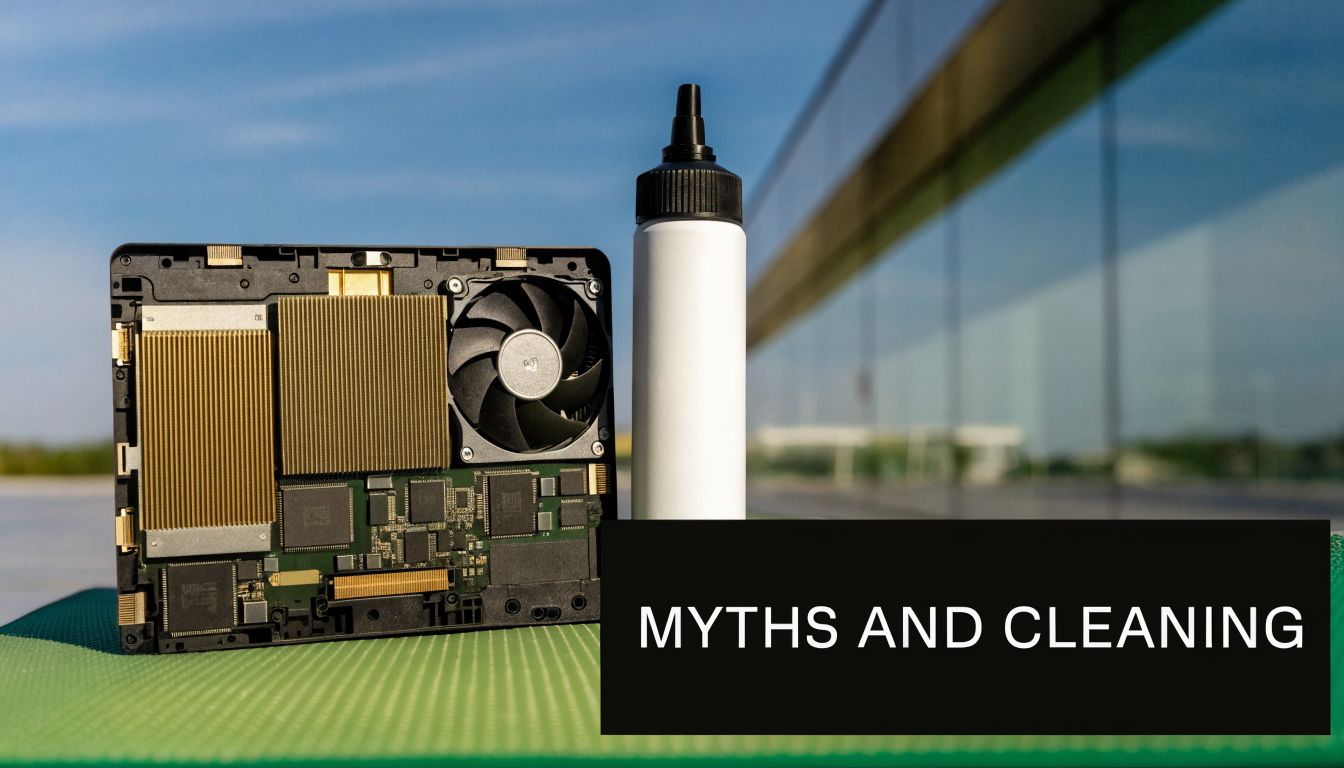
Set up properly first. Use a precision screwdriver set, a plastic opening tool, 90% or higher isopropyl alcohol, lint-free cloths, cotton buds, and a soft anti-static brush. Good light helps. So does taking photos as you go, especially if you are removing more than one connector.
Work in this order:
Keep the machine angled for drainage
Let gravity help. Blot visible liquid from the casing and vents.
Remove the bottom cover only if it opens cleanly
Take out the obvious screws, keep them in order, and do not force a panel that is still caught on hidden fixings.
Disconnect the internal battery
Once the battery is isolated, the risk of shorting something while cleaning drops sharply.
Inspect before touching anything else
Look for staining, sticky patches, white deposits, green corrosion, or residue around ribbon cables, the SSD area, fan intake, and charging section.
Use the alcohol sparingly. The goal is to dissolve and lift residue, not soak the whole machine.
Skip tap water, baby wipes, kitchen spray, and compressed air blasted straight into wet residue. Those either leave their own contamination behind or push the spill deeper.
Here's a useful visual walk-through before you start opening anything:
After cleaning, leave the laptop open in a dry room with steady airflow. A desk fan is fine. A radiator, oven, heated air gun, or hairdryer is how plastic parts warp and residue gets baked into awkward places.
Patience saves boards. I have seen plenty of laptops survive the spill itself and then die because someone powered them back up while a connector was still damp underneath.
Use this as a quick check:
| What works | What causes trouble |
|---|---|
| Battery disconnected during cleaning | Charger connected during inspection |
| 90%+ isopropyl alcohol on residue | Rice or silica packs used as the whole plan |
| Gentle brushing and blotting | Aggressive wiping that spreads contamination |
| Leaving it open to air dry properly | Heat from a radiator or hairdryer |
| Stopping if disassembly gets risky | Forcing clips, cables, or glued panels |
Once the laptop has had proper time to dry after cleaning, you can test it. Do this slowly. Don't reconnect everything at once and hope for the best.
Start with the basics only. Charger if needed, no USB devices, no docking station, no monitor, no memory cards.
Run this check in order:
Does it power on at all
Any fan spin, charging light, keyboard backlight, startup sound, or screen response matters.
Does the display look normal
Watch for lines, flicker, patches, or a screen that lights but never gives a proper image.
Does the keyboard behave
Test every key in a text field. Liquid-damaged keyboards often show stuck keys, repeated letters, or dead sections.
If one key types two characters, or random shortcuts trigger on their own, assume contamination or keyboard membrane damage.
Don't rely on memory. Write down exactly what works and what doesn't.
Check these next:
A machine with a bad keyboard but a healthy board is a very different repair from one with no power and signs of charging failure. That list saves time if you do end up handing it to a technician.
Here's a practical way to read the results:
| Symptom | Likely issue |
|---|---|
| Powers on, some keys fail | Keyboard contamination or keyboard damage |
| Charges intermittently | Port or power-circuit contamination |
| Black screen, signs of life | Display, cable, or board issue |
| No power at all | Main board fault, battery fault, or severe short |
| Boots, then shuts down | Residue, corrosion, or unstable power delivery |
If the laptop starts but behaves strangely, don't keep using it for days to “see if it settles”. Liquid damage faults rarely fix themselves.
Logic must replace emotion in this situation. Some water damage laptop fix jobs are worth doing. Some aren't.
Professional liquid-damage quotes globally can range from £160 to over £720, and a common repair rule is to consider replacement if the estimate goes above 25% to 50% of the price of a comparable new system (laptop water damage repair cost guidance).
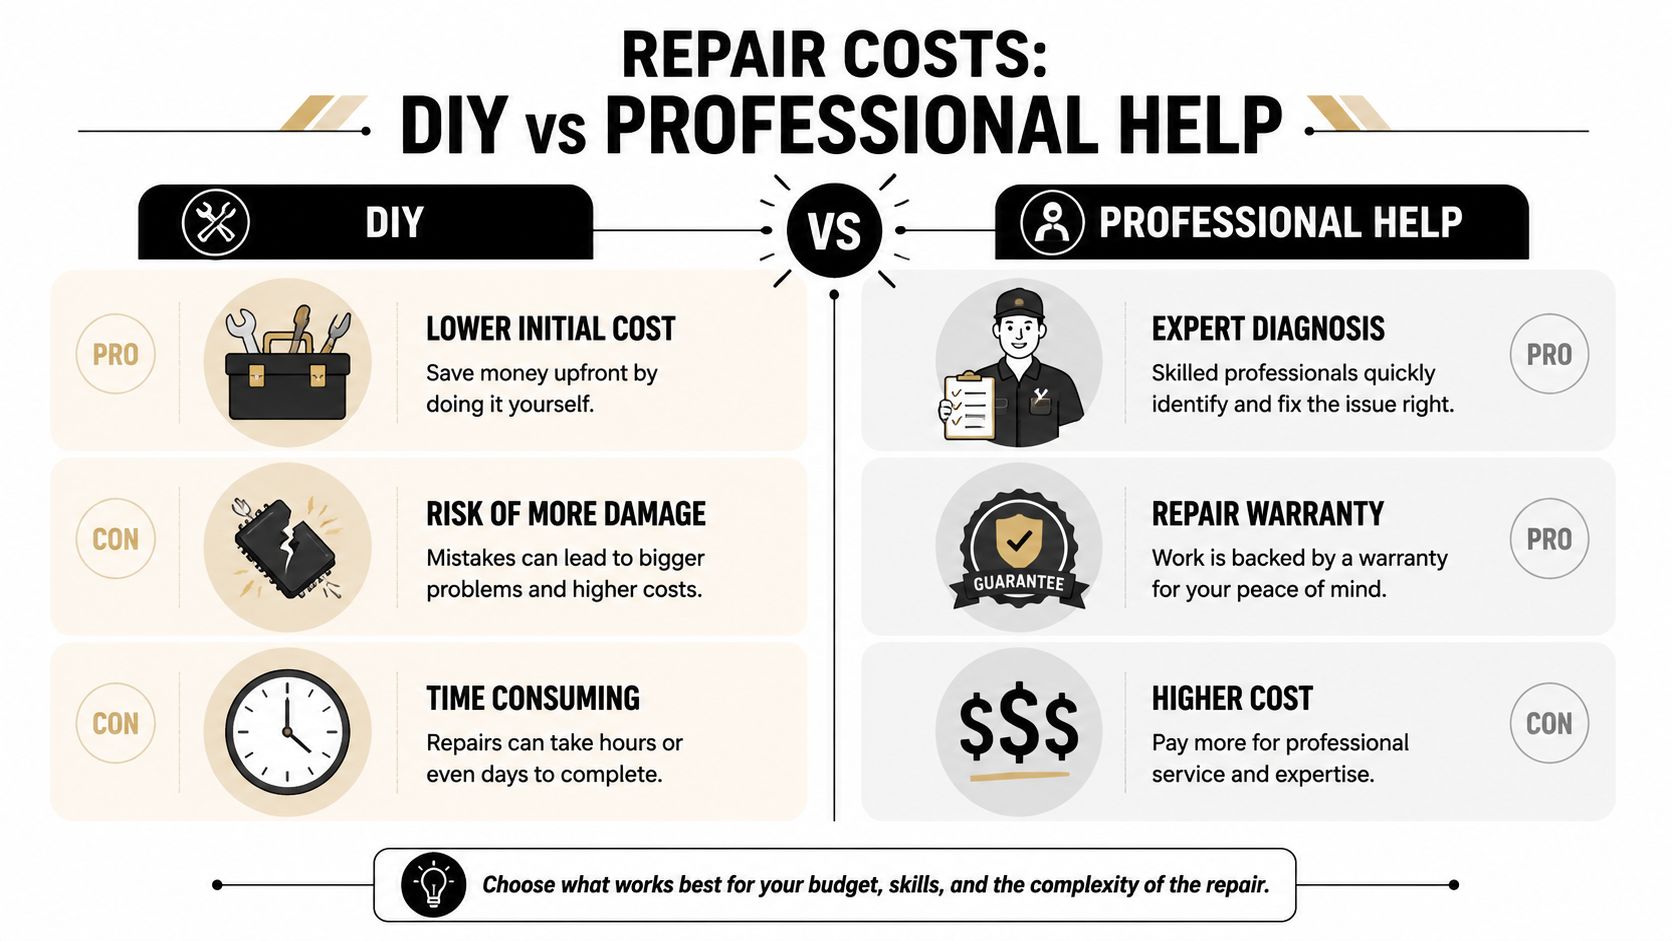
DIY is sensible when the likely damage is limited and the part is straightforward.
Examples include:
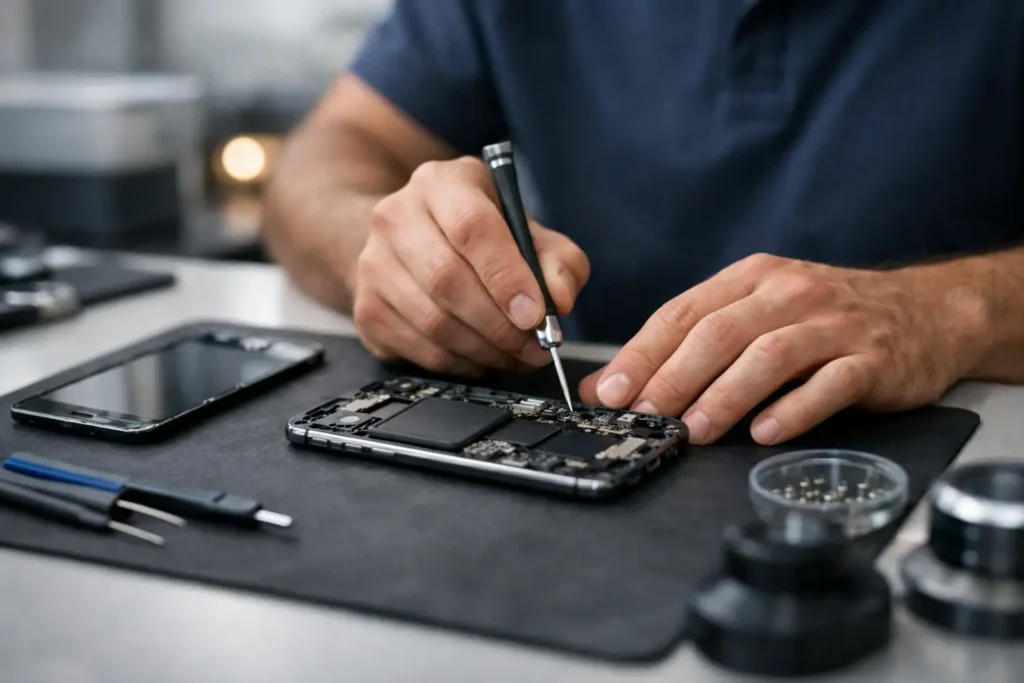
DIY gets far less sensible once the fault points to the main board. A board-level liquid repair isn't just “swap the bad bit”. It often means tracing corrosion, checking connectors under magnification, cleaning properly, and confirming whether power rails are stable before the machine is trusted again.
Use a simple decision filter.
| Question | Lean towards repair | Lean towards replacement |
|---|---|---|
| Is the laptop fairly current for your needs | Yes | No |
| Is the fault limited to keyboard, battery, or one accessible part | Yes | No |
| Is the quoted repair modest compared with a comparable new system | Yes | No |
| Do you depend on it daily for work and need certainty | Maybe | Often yes |
There's also the time factor. Ordering parts, opening the machine, cleaning it, testing it, then finding a second fault can eat up a weekend and still leave you with a machine you don't trust.
If replacement starts to look more practical, it can help to compare against good refurbished options rather than buying new on impulse. A guide to affordable refurbished IT devices at myhalo gives a decent overview of what to look for when you're weighing repair against replacement.
Bench reality: A cheap repair on paper can become an expensive mistake if liquid has already reached the board and you keep chasing symptoms one part at a time.
For local repair work, TechLab Solutions offers liquid-damage diagnostics as one route when you need someone to inspect the board, check for corrosion, and tell you plainly whether the machine is worth saving.
For many people, the laptop itself is replaceable. The files are not. Family photos, coursework, accounts, job documents, saved passwords, browser data, and project folders are usually the primary priority.
A dead laptop doesn't automatically mean dead data. Even if the machine won't boot, the SSD or hard drive may still be intact.
Asurion notes that a laptop can appear recovered after a spill and still fail later because hidden corrosion keeps working in the background, especially after sugary or salty liquids. That's why backing up data early matters, even if the machine seems to be behaving again (Asurion on delayed failure after liquid damage).

Most laptops use either a 2.5-inch SATA drive or an M.2 NVMe SSD. The storage device is often separate from the damaged keyboard and palmrest area.
A careful approach looks like this:
If the drive mounts normally, copy your critical files first. Don't start with a huge full-system tidy-up. Get the irreplaceable folders off immediately.
The smartest backup is the one you do before trying another power-on test.
If you're not sure what should be copied first, this checklist on how to protect data before repair is useful for deciding what matters most.
If the drive itself is contaminated, unreadable, or not detected in another computer, don't keep reconnecting it over and over. That's usually the point where specialist data recovery becomes the safer option.
Some jobs stop being sensible at the kitchen table. If the laptop still won't start, if the spill was sugary or widespread, or if you're dealing with a MacBook or thin ultrabook with dense internals, professional inspection usually saves time and avoids extra damage.
These are the cases I'd hand straight to a bench technician:
At that point, proper diagnosis matters more than guesswork. A technician can strip the machine safely, inspect under magnification, clean board contamination more thoroughly, and decide whether the fault is isolated or spread across several components.
If you're in Barrow-in-Furness or elsewhere in Cumbria, book a liquid damage diagnostic when you've hit the limit of what you can do safely at home. That's the practical move if the laptop is valuable, the data matters, or you don't want to gamble on repeated test boots.
You'll also get a clearer answer than internet guesswork can give. Is it just a keyboard? Has the charging circuit been hit? Is the board salvageable? Is the storage drive the priority? Those are bench questions, not rice-bag questions.
A calm repair shop won't promise miracles on liquid damage, because no honest technician can. What they can do is isolate the fault, reduce further corrosion risk, and give you a realistic choice between repair, data recovery, and replacement.
If your laptop's just taken a spill and you need a proper answer instead of trial and error, contact TechLab Solutions. Bring it in powered off, don't charge it, and don't keep testing it at home. A quick diagnostic can tell you whether the machine is worth repairing, whether the data can be secured, and what the most sensible next step looks like.
Created with the Outrank tool
Learn how to choose repair shop services you can trust, with clear tips on pricing, speed, warranties, data security and local expertise.
We’ve all been there. You pull your Samsung Galaxy S26 out of your pocket, it slips, and: crack. That beautiful 6.3-inch display is now a
We’ve all been there. You go to plug in your phone, and… nothing. No "ding," no lightning bolt, just a black screen staring back at
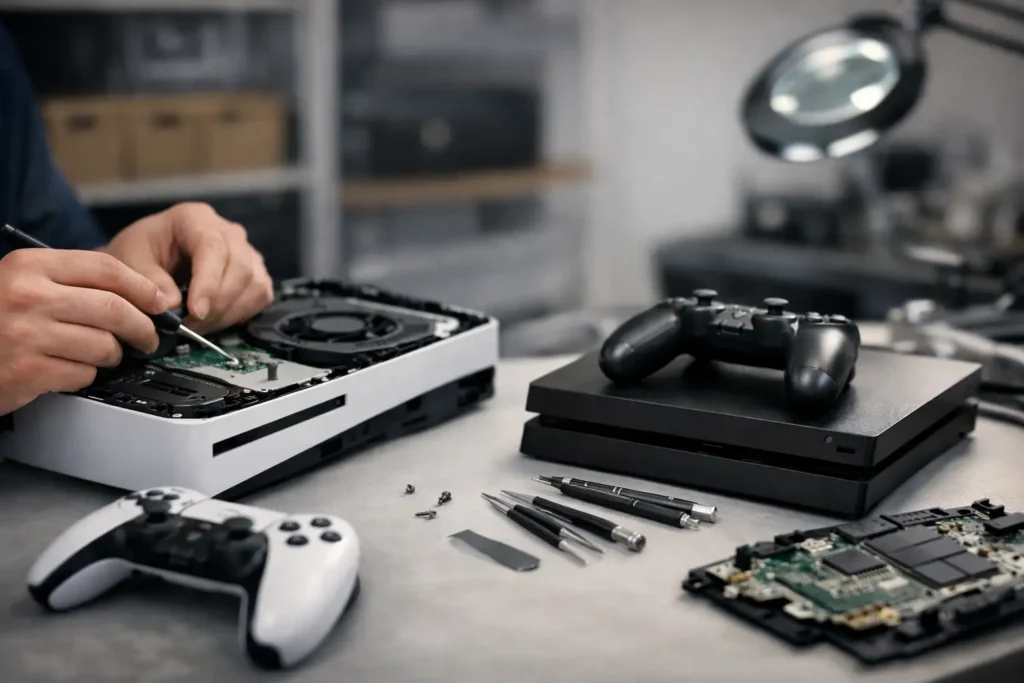
Our gaming console repair review explains when a fix is worth the cost, which faults are repairable, and how to choose a trusted local specialist.
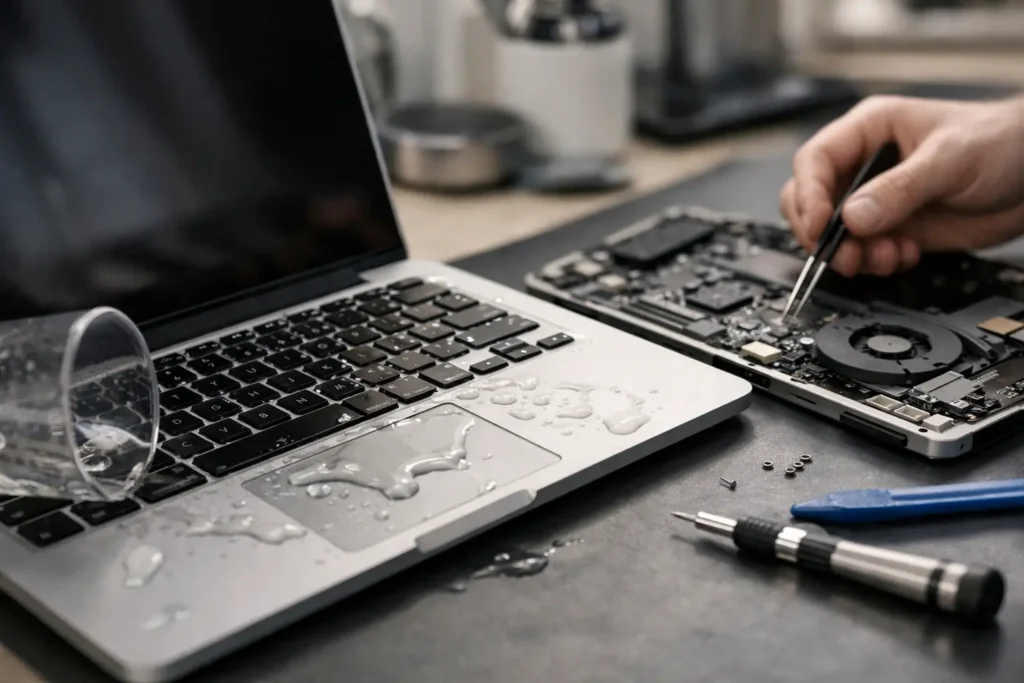
Learn how to repair liquid damaged MacBook issues fast, what to do first, what to avoid, and when professional board repair is the safer choice.
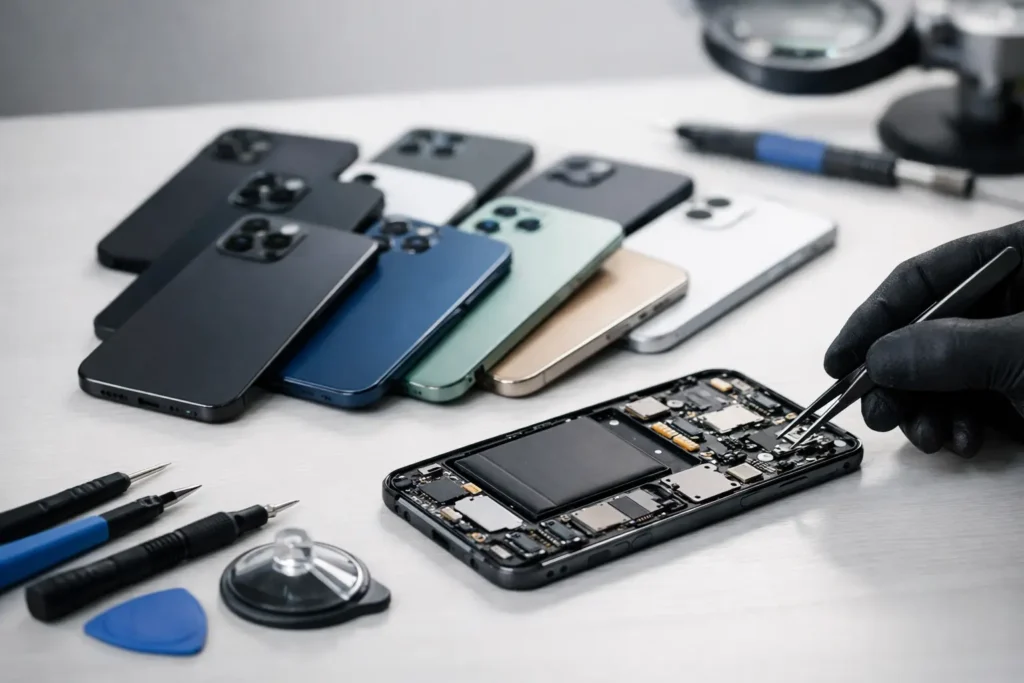
Wondering which are the best phones worth repairing? Here are 9 models where a screen, battery or port repair often makes better sense than replacing.
We’ve all been there. You’re rushing out the door, your phone slips, and that sickening crunch tells you exactly what happened before you even pick
Need same day phone repairs in Cumbria? Find out what can be fixed fast, what affects turnaround, and how to choose a local repair you trust.
Need MacBook beep on startup repair Barrow? Learn what the beeping means, common causes, and when to book a fast local MacBook diagnosis.