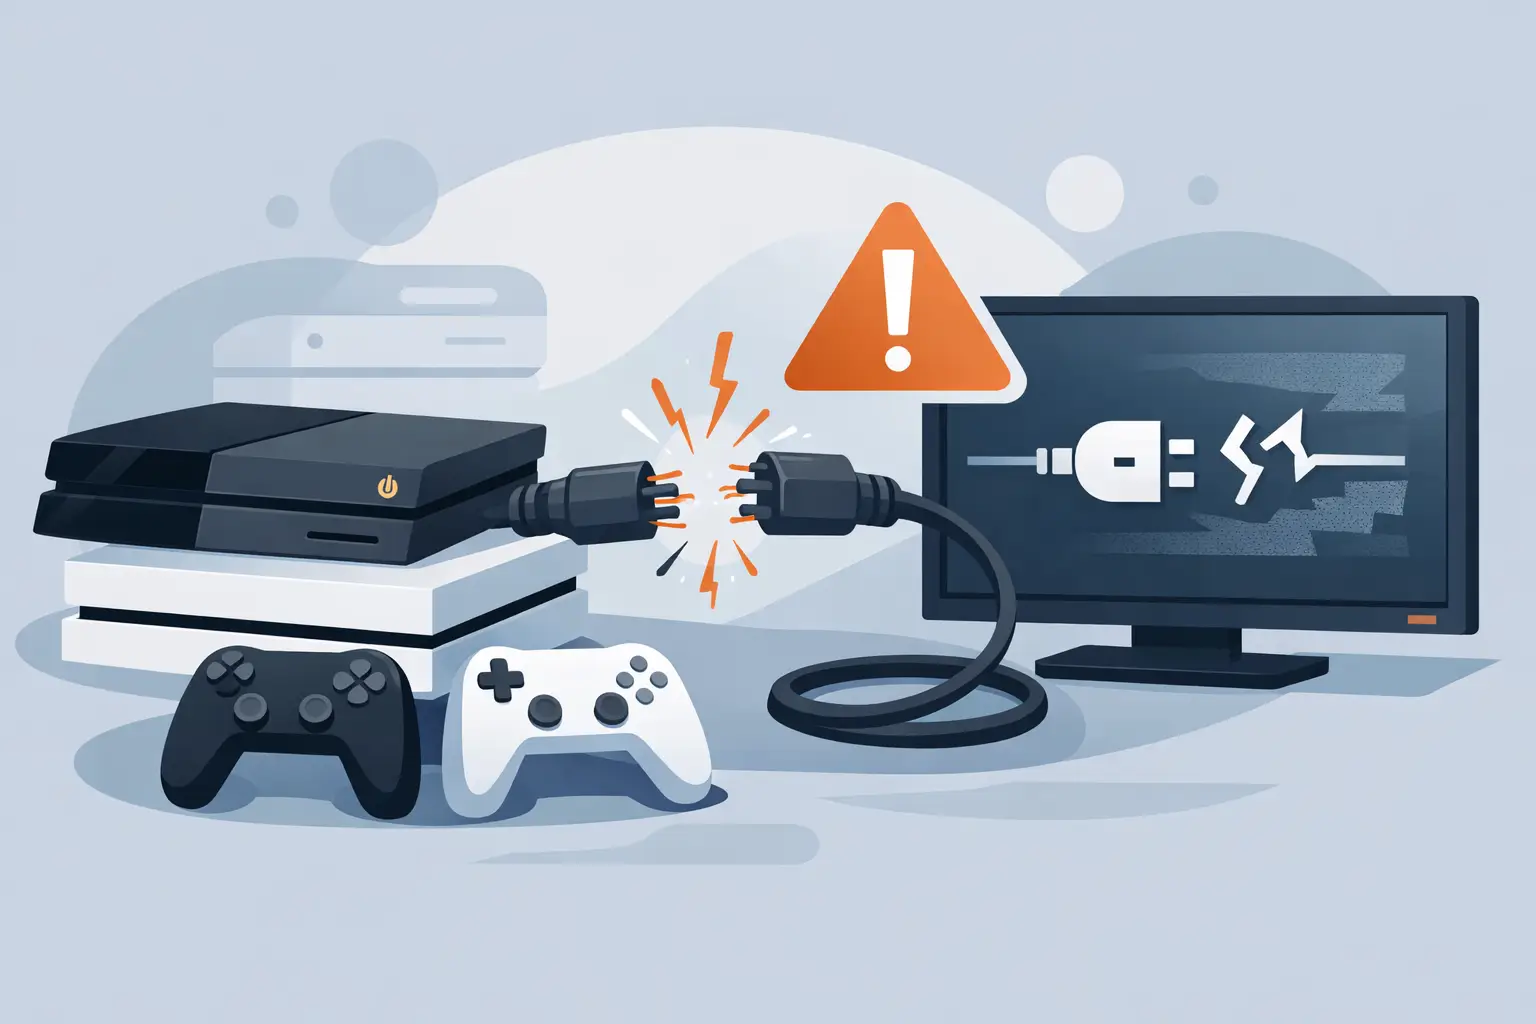
You sit down for a game, switch the console on, and the TV says no signal. The console light comes on, you can hear the fan, maybe even the startup sound – but nothing reaches the screen. That is exactly why a proper guide to console HDMI failures matters. It helps you work out whether the problem is a simple cable issue, a damaged port, or a deeper fault that needs repair.
For most people, HDMI faults look the same at first. Black screen, flickering image, strange colours, or a picture that cuts in and out. The trouble is that several different faults can cause those symptoms, and guessing wrong can waste time or make things worse. A loose cable is one thing. A damaged HDMI port or failed HDMI controller chip is quite another.
Guide to console HDMI failures – what usually goes wrong
On modern consoles, the HDMI connection is doing all the heavy lifting for video and audio. If that path is interrupted anywhere, the result is simple – no stable display. The cause, however, can vary quite a bit.
The most common issue is physical damage to the HDMI port itself. This often happens after a console has been moved while still plugged in, dropped, or forced into place with the cable at an angle. The small metal port can become bent, the internal pins can break, or the solder joints holding it to the board can crack. Even slight damage can stop the signal completely.
The next common problem is the HDMI cable or the TV input. That sounds obvious, but it catches people out more than you might think. A worn cable, a damaged connector, or a faulty HDMI socket on the television can copy the same symptoms as a console fault. That is why ruling out the basics first is always worth doing.
Then there are internal board-level faults. On some consoles, the HDMI encoder or related chips can fail due to power surges, overheating, wear, or previous poor-quality repair work. In that case, the port may look fine from the outside, but the console still will not display properly. This is where diagnosis matters, because replacing the port alone will not solve a failed chip.
The signs that point to HDMI failure
Not every display issue is caused by the HDMI system, but a few warning signs strongly suggest it. If the console powers on normally yet the TV never detects a signal, that is one of the clearest. If the picture appears only when the cable is held in a certain position, that usually points to a damaged port or connector.
Flickering output, sparkly artefacts, green or pink display tint, and audio cutting in and out can also be related to HDMI damage. Sometimes the console starts in low resolution but fails when the display setting changes to a higher output. That can happen when the connection is unstable enough to carry some signal, but not properly.
It also helps to notice what is still working. If the console turns on, reacts to the controller, and seems to boot as normal, the problem is often in the video output path rather than the full system. If it powers off quickly, shows error lights, or never appears to boot at all, the fault may be wider than HDMI alone.
Before you assume the console is broken
A practical guide to console HDMI failures has to start with the checks you can do safely at home. They are quick, and they can save you bringing in a console that is perfectly fine.
Start with the cable. Try a different HDMI lead that you know works on another device. Then try a different HDMI port on the television. If possible, test the console on a second TV or monitor. This matters because TV ports do fail, and some display settings can create handshake issues that look like a console fault.
Next, power everything down fully. Unplug the console and the TV from the mains for a minute, then reconnect and try again. It is basic, but HDMI handshakes do occasionally get stuck. A full restart can clear it.
Look carefully at the console’s HDMI port with a torch. If the metal housing is bent, the plastic tongue inside is damaged, or pins look misaligned, there is a strong chance the port is the problem. Do not poke inside it with anything metal, and do not keep forcing a cable in and out. That often turns a repairable port into a worse board repair.
If your console has a safe mode or low-resolution boot option, it can be worth trying that too. On some systems, this helps if the issue is tied to output settings rather than physical damage. If safe mode still will not display, the case for hardware failure becomes stronger.
When the HDMI port is the culprit
A damaged port is one of the most frequent console repairs we see. The reason is simple – HDMI sockets were never designed to take much force, and consoles are often moved, unplugged in a hurry, or used in tight spaces where the cable gets knocked.
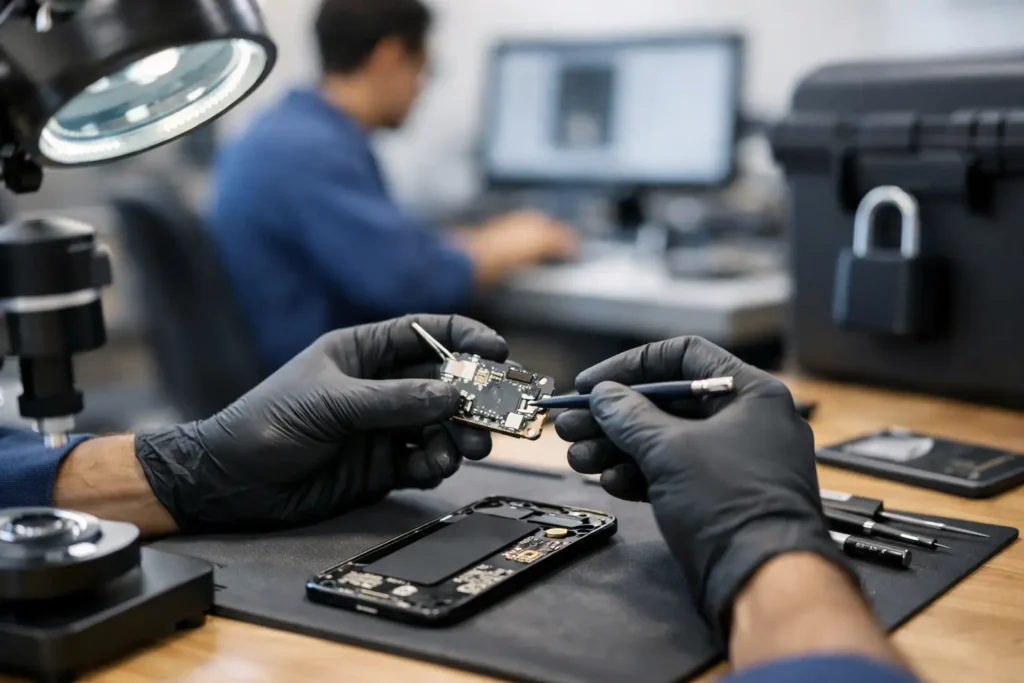
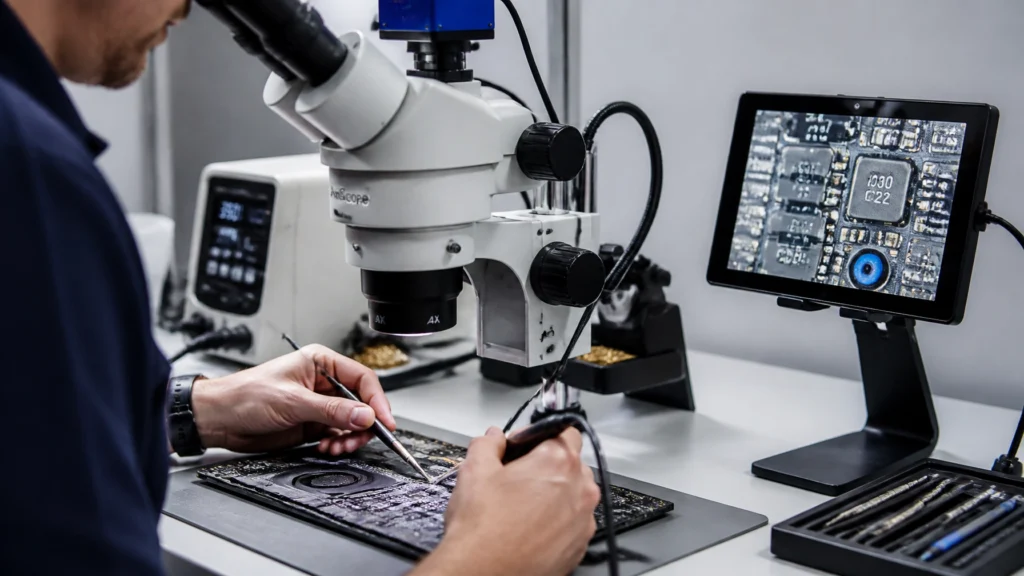
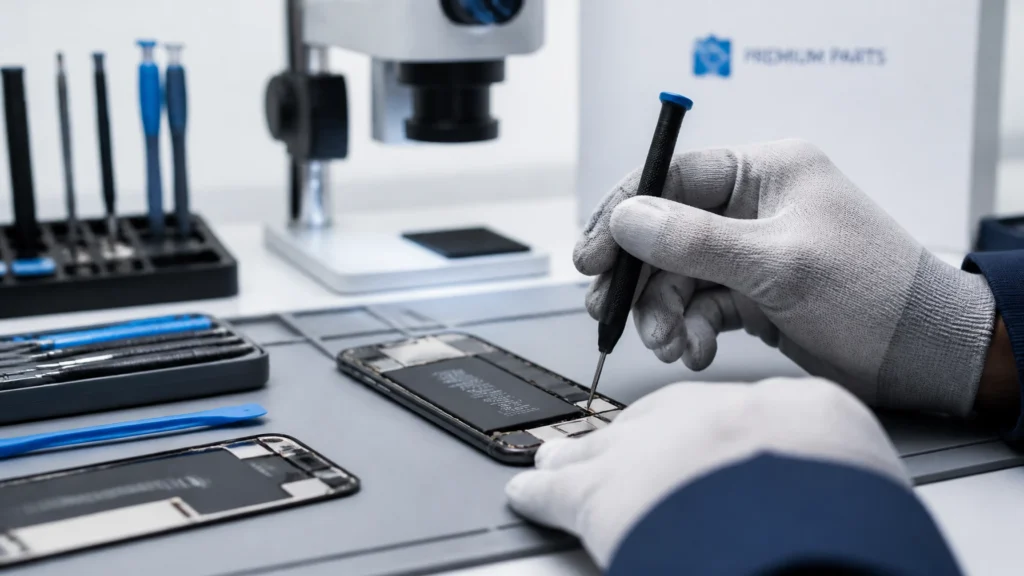
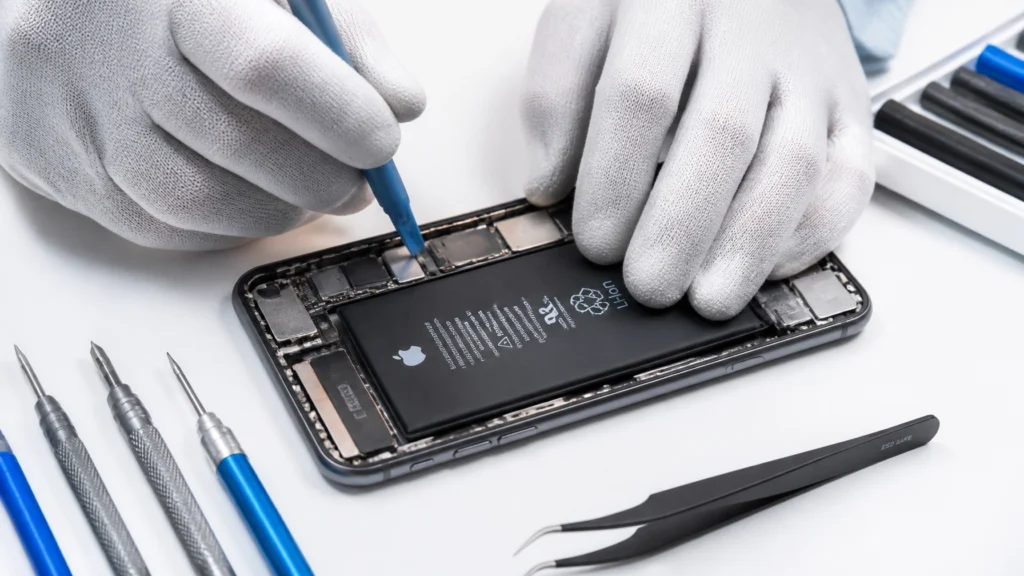
The repair itself is more precise than many people expect. A proper technician does not just heat the area and swap the port. The damaged socket has to be removed cleanly without lifting pads from the board. The contact points need checking, the new port must be fitted accurately, and the surrounding components should be inspected for hidden damage. If the original impact was strong enough, the port may not be the only casualty.
This is also why cheap patch-up jobs can fail quickly. If the soldering is poor or the board pads are already weakened, the new port may feel fine for a short time and then break away again. A solid repair should restore a firm connection and stable signal, not just a temporary picture.
When it is not the port at all
Here is the part that catches many owners by surprise. A console can have a perfectly normal-looking HDMI socket and still have no display because the fault sits deeper on the motherboard.
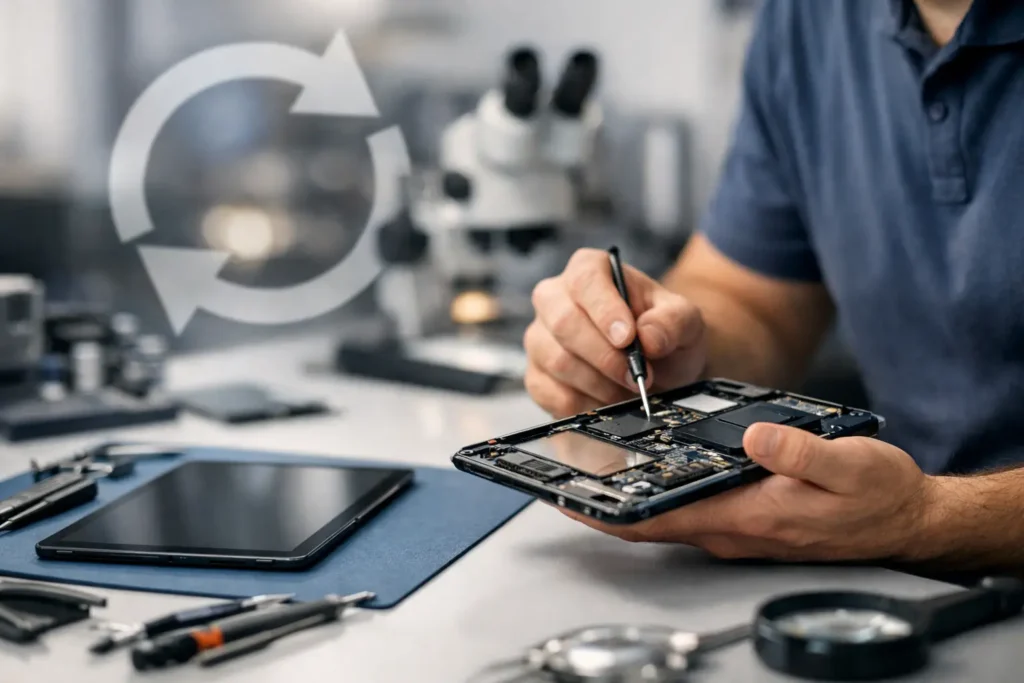
The HDMI retimer, encoder, filters, or related power circuits can fail. In plain terms, these components help generate, protect, and send the video signal out through the port. If one of them is damaged, replacing the socket alone will do nothing. Sometimes these faults happen after a power issue. Sometimes they follow an impact. Sometimes they are simply wear-related.
This is where proper testing becomes valuable. A repairer should be able to inspect the port, check continuity, test surrounding components, and work out whether the signal path is failing at the socket or further back. That diagnosis saves time, money, and repeat repairs.
Should you try to fix it yourself?
If your plan is limited to swapping the cable, trying another display, or checking the outside of the port, that is sensible. Once the repair involves opening the console, the risk goes up fast.
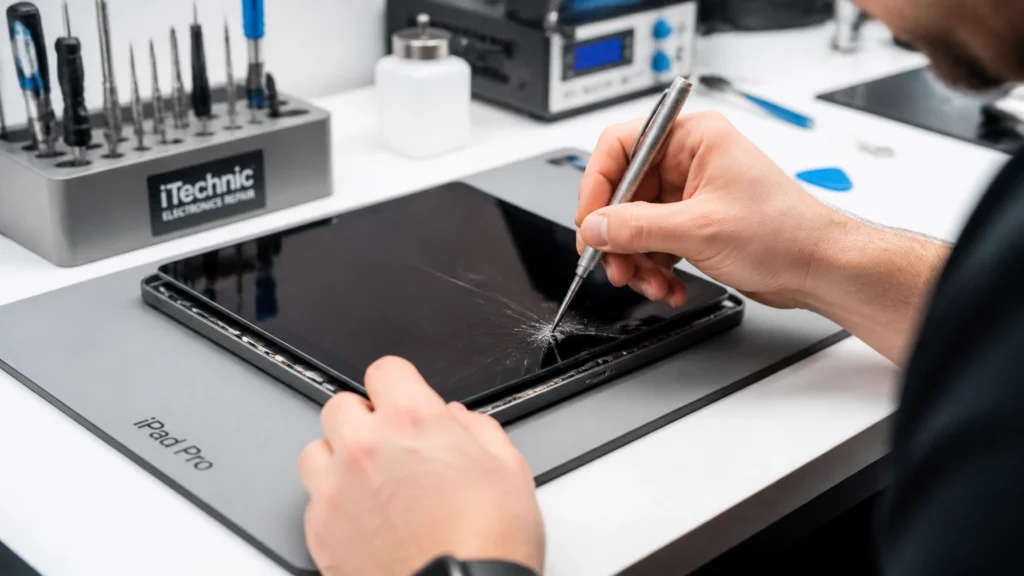
HDMI port replacement is not a beginner soldering job. The pins are fine, the board can be damaged by too much heat, and nearby parts are easy to disturb. If you remove the old port badly, you can tear pads from the motherboard and turn a straightforward repair into a much more complex one. The same applies even more strongly to HDMI chip faults, which need proper tools, board-level experience, and careful testing.
For most people, the better trade-off is simple – do the safe checks at home, then let a specialist handle the hardware work. It is usually faster and cheaper than replacing a console, and it avoids the frustration of causing extra damage.
How to avoid future HDMI problems
A little care goes a long way here. Try not to move the console while the HDMI cable is still connected. If the setup is tight against a wall, give the cable some space so the plug is not under constant pressure. When unplugging, pull the connector straight out rather than twisting it.
It also helps to avoid very cheap cables with poor-fitting connectors. You do not need an expensive one for gaming, but a decent, well-made lead reduces strain on the port and gives a more stable connection. If children are using the console, keeping the cable route tidy can prevent accidental yanks.
For homes, schools, and shared spaces where consoles are plugged in often, wear happens faster. In those cases, early repair is usually better than waiting. A slightly loose port can still work for a while, but continued use may damage the board underneath and make the job bigger than it needed to be.
If your console has lost signal, shows an unstable picture, or only works when the cable is held just so, trust what you are seeing. HDMI faults rarely fix themselves, and repeated fiddling usually makes them worse. A local repair specialist such as TechLab Repairs can identify whether it is the cable, the port, or a deeper board issue and get you back to gaming without the guesswork. Don’t let a broken console slow you down – the right repair at the right time usually saves both money and hassle.
The useful thing to remember is that no signal does not always mean the end of the console. More often, it means the fault needs the right diagnosis rather than a rushed replacement.