AppleCare Versus Repair: Which Costs Less?
AppleCare versus repair: weigh cost, cover, turnaround and data security before choosing the right fix for your iPhone, MacBook, iPad or Apple device.

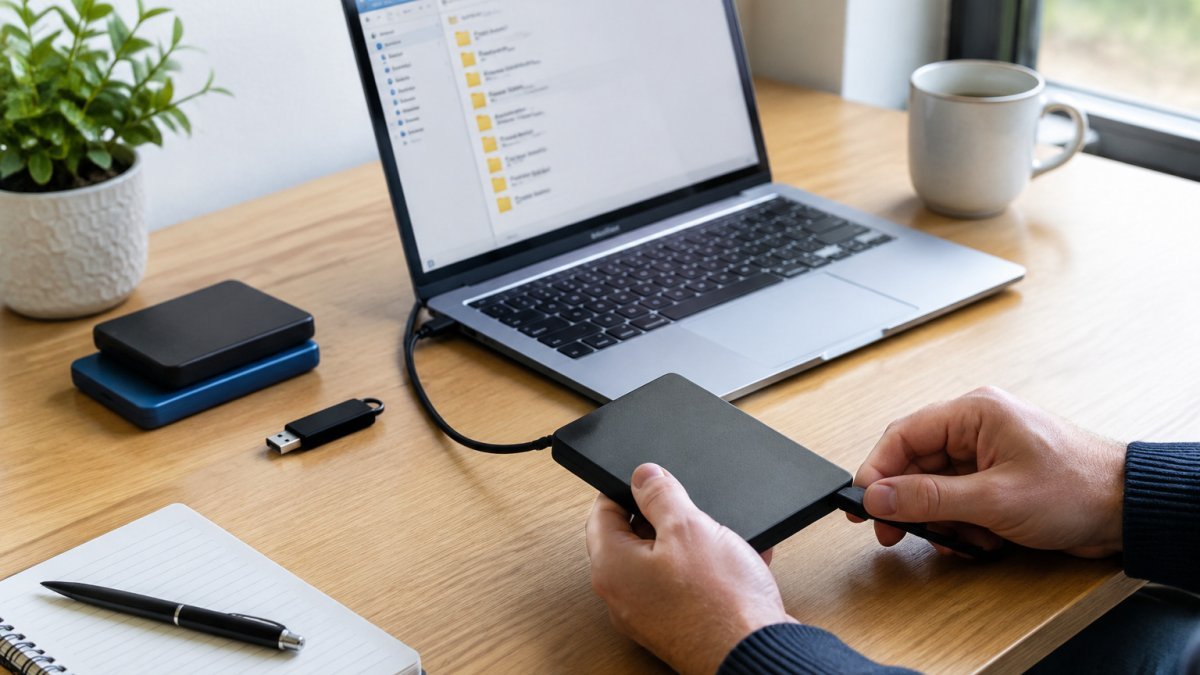
Quick Summary
To back up files before a laptop repair, copy your Documents, Pictures, Desktop, Videos and Music folders to an external hard drive, then open a few copies to confirm they work. The process takes about an hour, and a cloud sync alone is not a full backup.
Last Updated: 8 November 2026
Backing up files before a laptop repair takes about an hour and can save you months of lost work.
Here is the basic risk. A repair often means opening the machine, replacing a part and testing it. Sometimes the drive is cloned or reimaged during the job.
A common mistake is to assume the shop will “just look after it.” Most repairers will take care, but the job is the repair, not your data.
Watch out: Do not assume a cloud sync is a full backup. If you delete a file on the laptop, the cloud copy may vanish too.
Start by listing what you cannot afford to lose. Think about work files, family photos, saved passwords, email and anything you have not saved anywhere else. Then work through the checklist below so nothing obvious is missed.
Prioritise the files that would hurt most to lose. Then choose a backup method that fits how much data you have. Back up everything you use day to day, then check the less obvious places too.
Most people keep their important files in the standard Windows user folders. Check each one:
Open File Explorer, click each folder, and copy it to your backup destination. Check the folder sizes first so you know how much space you need.
Some valuable data sits outside the usual folders. Look for:
A backup you have not checked is not a backup. Before you hand the device over, confirm three things:
Watch out: A file that shows the right name and size can still be corrupt if the drive was failing during the copy. If any sample file will not open, re-copy that folder before proceeding.
If the laptop will not start, you cannot copy files through the normal desktop. You have three realistic routes:
A common pattern is to attempt the adapter route first, because it is cheap and non-destructive. If the drive is not detected through the adapter, avoid repeated retries and consider a recovery service.
Both options protect your files, but they suit different situations. Cloud storage keeps a copy online and lets you reach it from any device. An external hard drive keeps a full copy in your hands.
A common approach is to use both. Keep a local copy on an external drive for speed, and a cloud copy for extra safety.
Cloud plans often have storage limits. Check how much room you have before you upload everything.
This method is simple and needs no account. You will need an external hard drive with enough free space for your files.
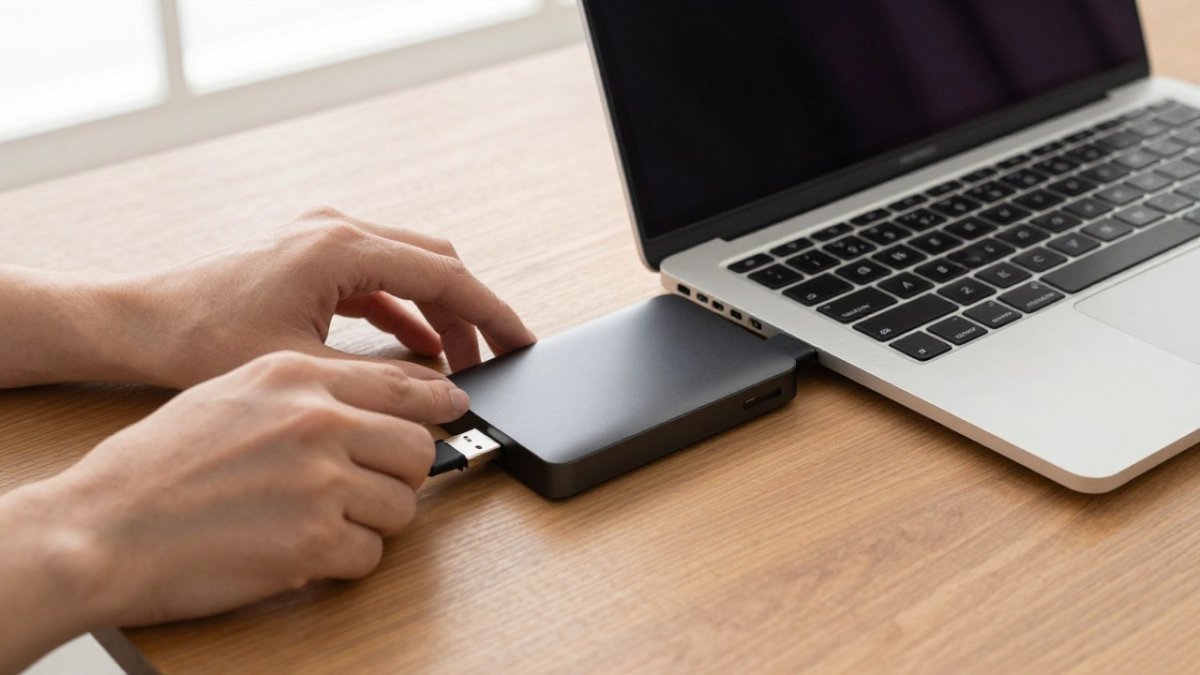
Expected result: Your folders appear on the external drive and open without errors.
A common mistake is copying files into the drive’s root folder without organising them. Use dated folders so you can find things later.
Windows includes built-in tools, but they are split across different parts of the system and none of them is a complete backup on its own. The table below sets out what each one actually does, so you can pick the right one rather than guessing. Because these tools cover different parts of the job, pairing them with cloud storage can keep another copy of important files available if the laptop cannot be repaired, a point also relevant to Nazca Tech.
| Tool | What it backs up | Best for |
|---|---|---|
| File History | Files in your user folders, on a schedule | Ongoing protection of Documents, Pictures, Desktop and similar |
| Backup and Restore (Windows 7) | A system image of the whole drive | A full snapshot you can restore to a new drive |
| OneDrive folder backup | Known folders synced to the cloud | Small files you want off the device |
| Reset this PC | Nothing, it erases | A clean install after the backup is confirmed |
File History only covers folders you add under More options. If you have files elsewhere, add those folders or copy them by hand.
This older tool is still present in current versions of Windows and is the simplest way to capture a full system image.
A system image lets you restore the whole machine, including the operating system and installed programmes, rather than copying files back one by one. It is the better choice if the repair may involve replacing the drive.
Built-in tools report success, but you should confirm the result yourself:
Watch out: A system image cannot be restored to a drive smaller than the original, so if the repair involves a replacement drive, check the capacity before you rely on the image alone.
The equivalent tools are Time Machine and iCloud Drive. Connect an external drive, open System Settings, go to General, then Time Machine, and add the drive as a backup destination. Time Machine then keeps hourly, daily and weekly copies and lets you restore individual files or the whole system. For files you want off the device entirely, copy them to iCloud Drive or another cloud account as well, because Time Machine alone leaves you dependent on the drive you are about to hand over.
In most cases, you do not need to wipe the laptop before a repair. Many repairs can be done without touching your data at all.
Some people choose to wipe their device for privacy, especially if they plan to sell or give it away. If you do, confirm that your backup opens correctly first.
Tell the repairer if you have sensitive files, so they know how to handle the device.
It is sensible to keep your data where you can reach it, then decide about wiping only after the repair.
Once your backup is complete and checked, you are ready to book. Bring your charger and note any passwords you need, so the repairer can test the device properly.
When you choose a repair shop, ask how they handle customer data. We also offer a 12-month warranty on repairs and use high-quality replacement parts.
If your laptop needs a screen fix, you can book a laptop screen repair with us once your files are safe. For a MacBook, you can find MacBook repair services in Barrow-in-Furness and across Cumbria. If you are weighing up a repair against a new machine, see our guide to repair or replace. And if you want more help choosing a shop, read how to choose a repair shop you can trust.
Ready to book? Get started with TechLab Repairs and get your device back in working order.
Start by listing the folders that matter most, usually Documents, Pictures, Desktop, Videos and Music. Copy them to an external hard drive or a cloud service such as OneDrive, then open a few files from the copy to confirm they work. Keep the drive or account details separate from the laptop you are sending in. If the device will not boot, you may need to remove the drive and copy the files on another computer. Check the backup completed before you hand the device over, and bring the charger so the repair team can test the machine properly.
A repair technician may be able to see files on a device while testing it, which is why sensitive material should be protected before you hand it over. Encrypt the drive where your system allows it, use a strong login password, and remove or sign out of accounts you do not need the repairer to use. Ask the repair team how they handle customer data and whether they can work without opening your personal folders. If you hold confidential business or client information, move it to a secure location first and keep your own copy of the backup.
Only wipe the laptop once you have verified that your backup is complete and readable. A factory reset or clean install removes your files, so it should be the last step, not the first. Many repairs, such as screen or battery replacements, do not need a wipe at all, and a wipe can slow the process if the technician needs the operating system to test the device. Ask the repair team whether they need the machine in working order, and only erase it if they confirm that is what they want.
Cloud storage is useful, but it may not hold everything. Check your storage limit and confirm that the folders you need are actually synced, because files stored only on the local drive will not appear in the cloud. Large video libraries and older application data can exceed free plans quickly. For important work, combine a cloud copy with an external hard drive so you have two separate backups. This also protects you if your internet connection is slow or unavailable on the day you need the files.
AppleCare versus repair: weigh cost, cover, turnaround and data security before choosing the right fix for your iPhone, MacBook, iPad or Apple device.
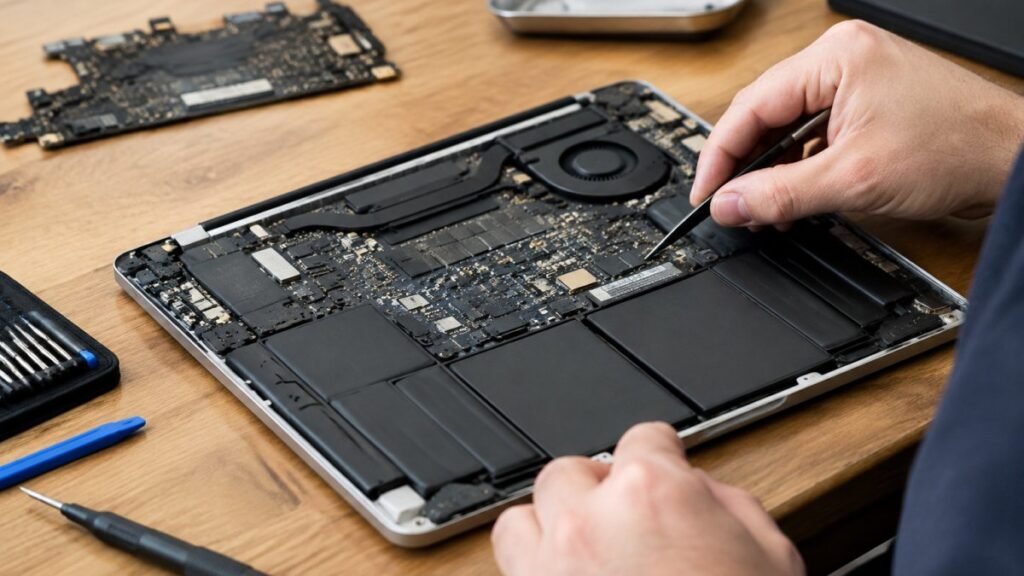
Spotting logic board faults early can save you a costly repair.
Need PlayStation drive repair in Cumbria? Learn the signs of disc and storage faults, what to avoid, and when a local technician can help fix it safely.
PS5 HDMI port repair cost in 2026 depends on damage severity and console model. Compare repair versus replacement and see what a full quote should cover.
Can repaired phones remain waterproof after a screen or battery repair? Learn what affects the seal, what a proper repair involves and how to stay safe.
Refurbished business laptops can cost 30% to 60% less than new retail models. See the benefits, grading and warranty points to check before you buy.
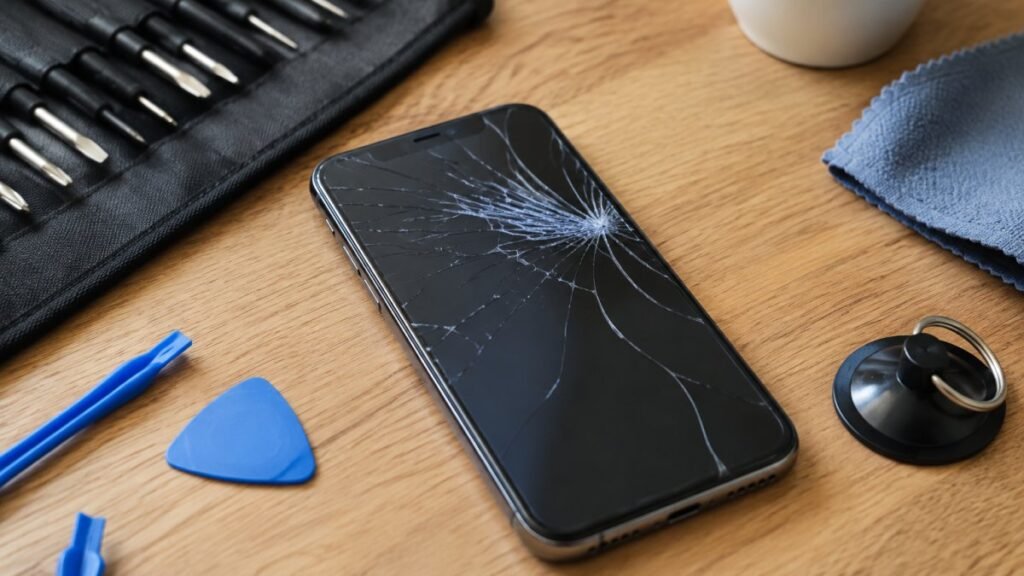
A cracked iPhone screen needs careful handling before repair. Learn safe first steps, backup, cost factors and when DIY risks outweigh the savings.
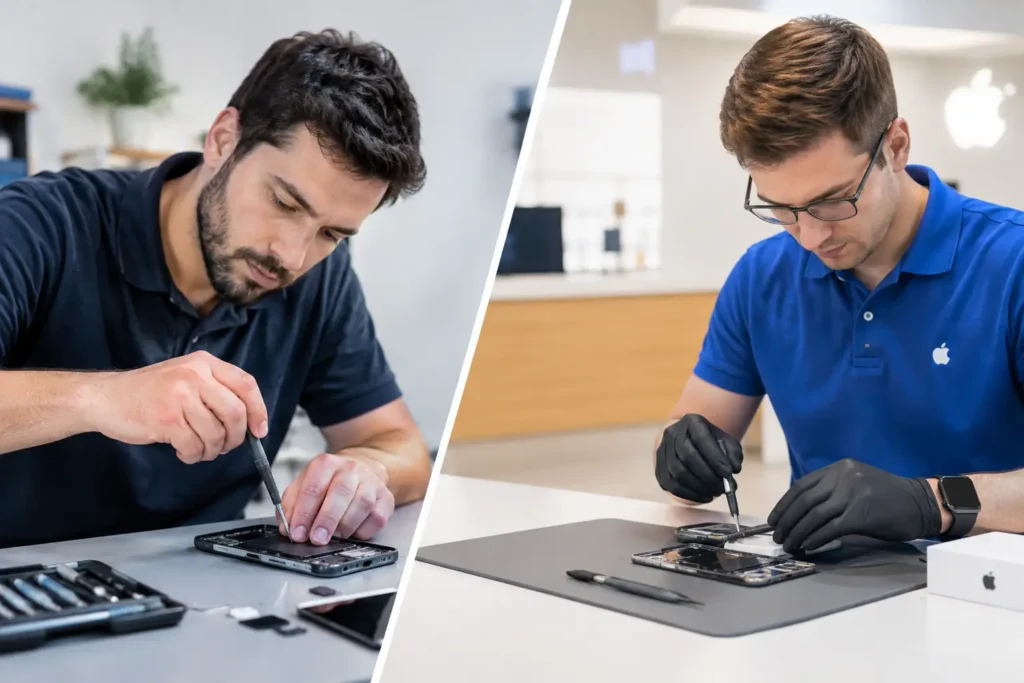
Third party versus authorised repair explained: compare cost, parts, warranty, speed and data care before booking a repair in Cumbria for your device.
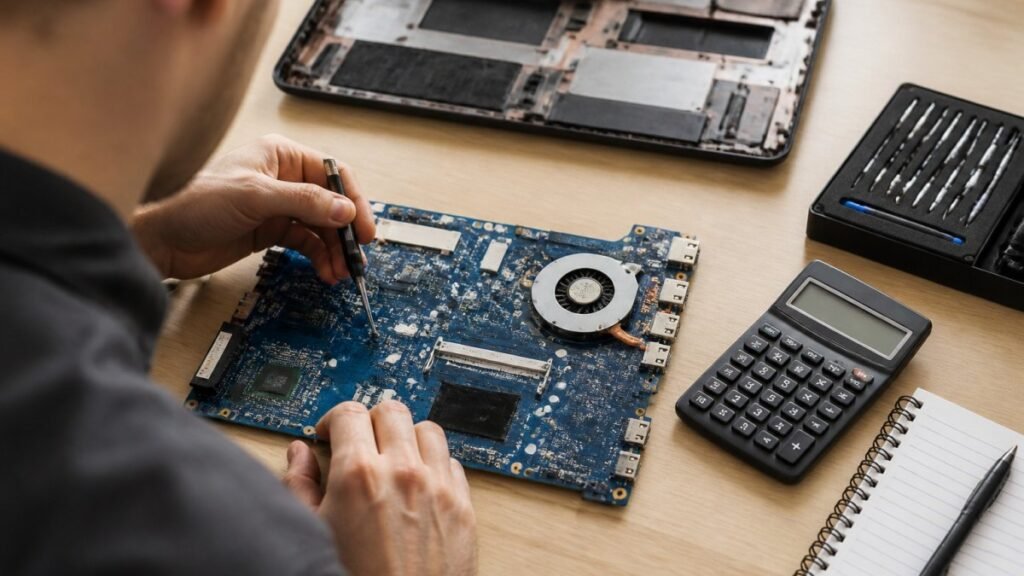
Motherboard repair cost in the UK depends on the fault, the laptop and the quote type. Compare repair with replacement and see what to ask for in writing.
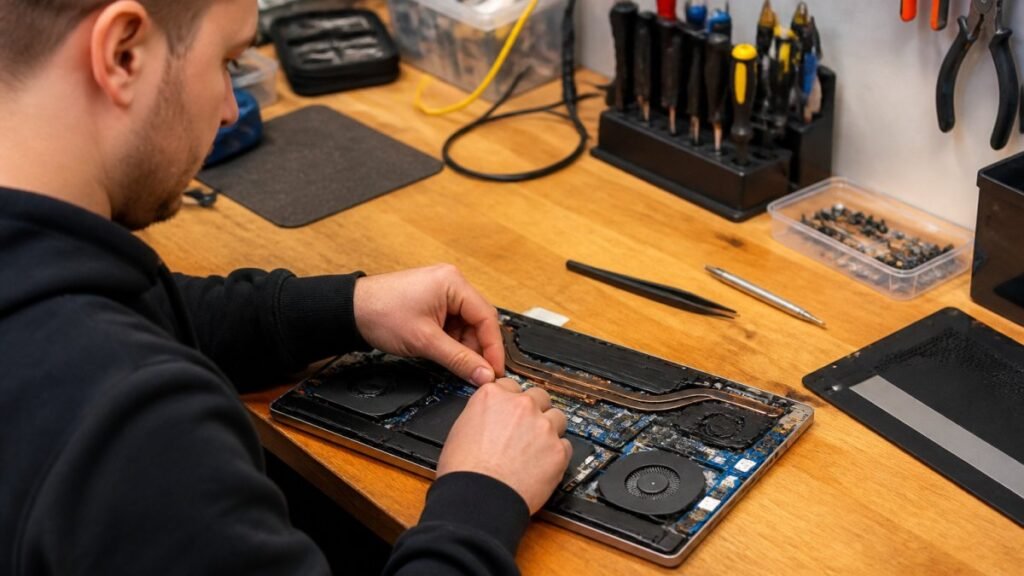
Need fast laptop repair in Barrow-in-Furness? Learn how diagnostics, turnaround times and same-day fixes work, and how to check your repair progress.