A console that shows no lights, no chime and no sign of life can feel properly dead – but power faults are rarely as simple as they look. If you are trying to work out how to diagnose console power faults, the key is to separate a failed power source from a failed console, then narrow the issue down without making it worse.
Power problems on PlayStation, Xbox and Nintendo systems can come from several places. Sometimes it is the mains lead, plug fuse or power brick. Sometimes it is a damaged HDMI setup making the console look dead when it is actually on. And sometimes the fault sits deeper on the board, where shorted components, failed power rails or liquid damage stop the machine from starting properly.
How to diagnose console power faults safely
Start with the simple checks first. That is not about cutting corners – it is the quickest way to avoid misdiagnosing a major fault when the real problem is a cable, socket or accessory.
Begin by disconnecting everything that is not essential. Remove external drives, controllers, charging docks, VR accessories and USB devices. Leave only the power lead and HDMI connected. A faulty USB accessory can hold some consoles in a strange boot state, and while it is not the most common cause, it happens often enough to be worth ruling out early.
Next, check the wall socket with another device you know works. If the socket is fine, inspect the mains lead and any external power supply for obvious damage, kinks, burn marks or looseness. On some Xbox models, the power brick itself gives useful clues through its status light. No light may point to the brick or mains input. An orange or standby light can mean the brick has power but the console is not drawing it correctly. A flashing or shutting-down light can suggest an overload or short.
If the console has a removable fuse in the plug, as many UK leads do, that is worth checking too. A blown fuse does not always mean the console is faulty, but if a replacement fuse blows again there is likely a deeper issue and it is time to stop testing.
The first question – dead console or no display?
One of the easiest mistakes is assuming a power fault when the console is actually turning on but not showing an image. Listen closely. Do you hear the startup beep, fan spin or disc drive response? Does the controller pair or flash differently when you press the power button? If yes, you may be looking at an HDMI or display fault rather than a true no-power condition.
Try a different HDMI cable and another screen before going further. HDMI port damage is especially common on consoles that have been moved around, used in shared family spaces or packed away carelessly. A bent or cracked port can leave the system powered but apparently lifeless from the user’s point of view.
That distinction matters because the next steps are different. A no-display fault needs signal-path checks. A true no-power fault needs power-path checks.
What the symptoms usually mean
A console with absolutely no response at all often points to the external power path first – socket, fuse, cable, power brick or AC input stage. If those have been ruled out, internal standby power may be missing.
A console that beeps and instantly shuts off often suggests short protection kicking in. That can happen with a failed power supply section, a shorted capacitor or damage on one of the main power rails.
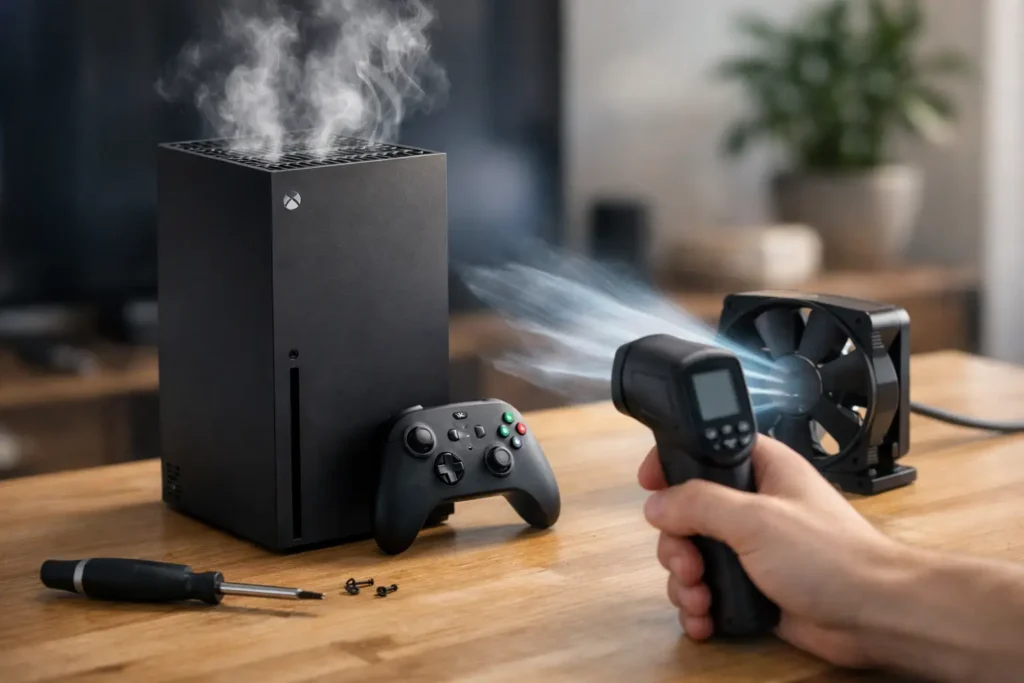
A console that powers on for a few seconds and then dies may have overheating history, a failing internal PSU, corrupted standby control, or a board-level fault that only appears under load. Dust alone usually causes thermal shutdown after longer use, not after one or two seconds, so immediate cut-off often means something more electrical.
If there is a burning smell, visible liquid residue or evidence of a power surge, do not keep retrying it. Repeated power attempts can turn a repairable fault into a much larger board repair.
Checking external power parts properly
If your console uses an external power supply, the best test is substitution with a known-good compatible unit. That is far more reliable than guessing from a status light alone. It needs to be the correct specification – not just a plug that fits.
For consoles with internal power supplies, the kettle lead can still be the problem, so swap that first if you have a matching safe replacement. On Nintendo systems with USB-C charging and docked power arrangements, make sure you are using the correct adapter. Third-party chargers and docks can cause inconsistent charging or power behaviour, especially with the Switch.
It is also worth doing a full power reset. Unplug the console from mains power, disconnect all accessories and leave it for a few minutes. Some technicians leave it longer to allow standby capacitors to discharge fully. Then reconnect only the essentials and test again. This will not fix a failed component, but it can clear odd behaviour caused by a crash in standby or power management.
When the fault is likely inside the console
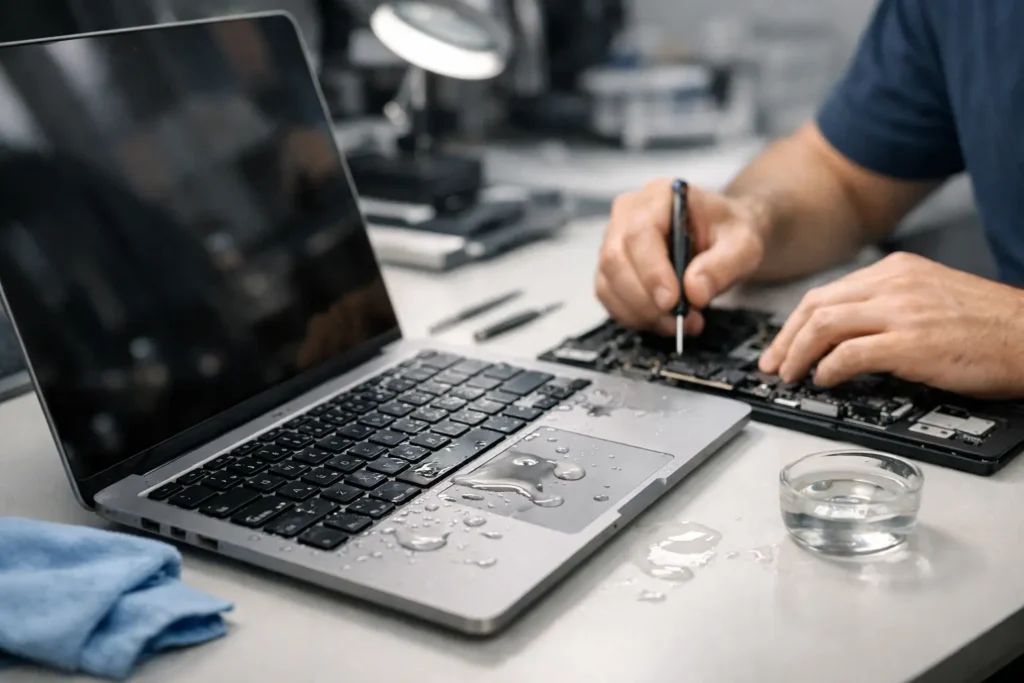
Once the external side has been ruled out, internal diagnosis becomes more technical quite quickly. The common culprits are failed internal power supplies, damaged DC input stages, shorted capacitors, bad MOSFETs, standby rail faults and corrosion from liquid exposure. On some models, an impact or HDMI port damage can also stress nearby power circuitry.
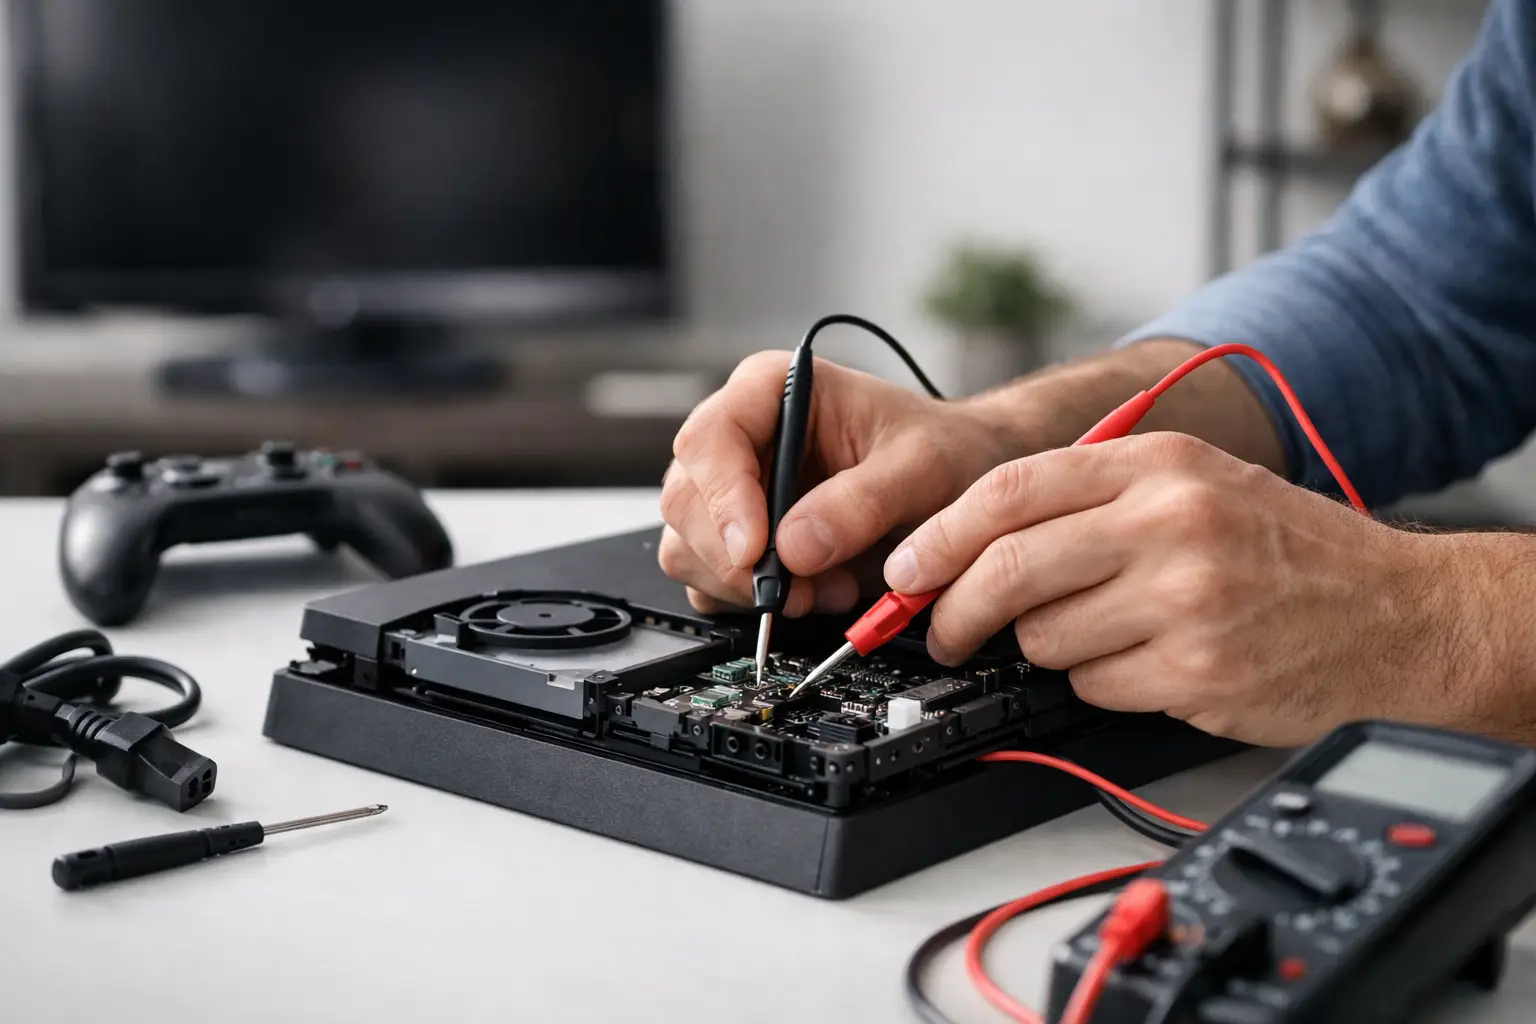
This is where symptom pattern matters. If the console is fully dead and a known-good power source changes nothing, the standby rail may be missing. If standby is present but the machine will not switch on, the fault may be around the power button circuit, southbridge control, enable signals or a secondary rail that collapses on startup.
For a technician, that means measuring rails and checking for shorts with a multimeter. For a home user, it usually means deciding whether opening the unit is worth the risk.
Should you open the console yourself?
It depends on your experience. Basic cleaning and visual inspection are one thing. Board-level diagnosis is another.
If the console is out of warranty and you are comfortable working on electronics, you can inspect for obvious signs such as liquid damage, burnt areas, disconnected fan plugs or a heavily dust-clogged heatsink. But there are trade-offs. Opening the console can damage clips, void remaining cover, and create more issues if thermal pads, screws or shielding are not put back correctly.
Once you move beyond visual checks into live voltage testing, the risk goes up. Internal power supplies and board-level circuits are not the place for guesswork. If you do not know what standby voltage should be present, or how to test for a short safely, it is better not to learn on a console you still hope to save.
The warning signs of a board-level repair
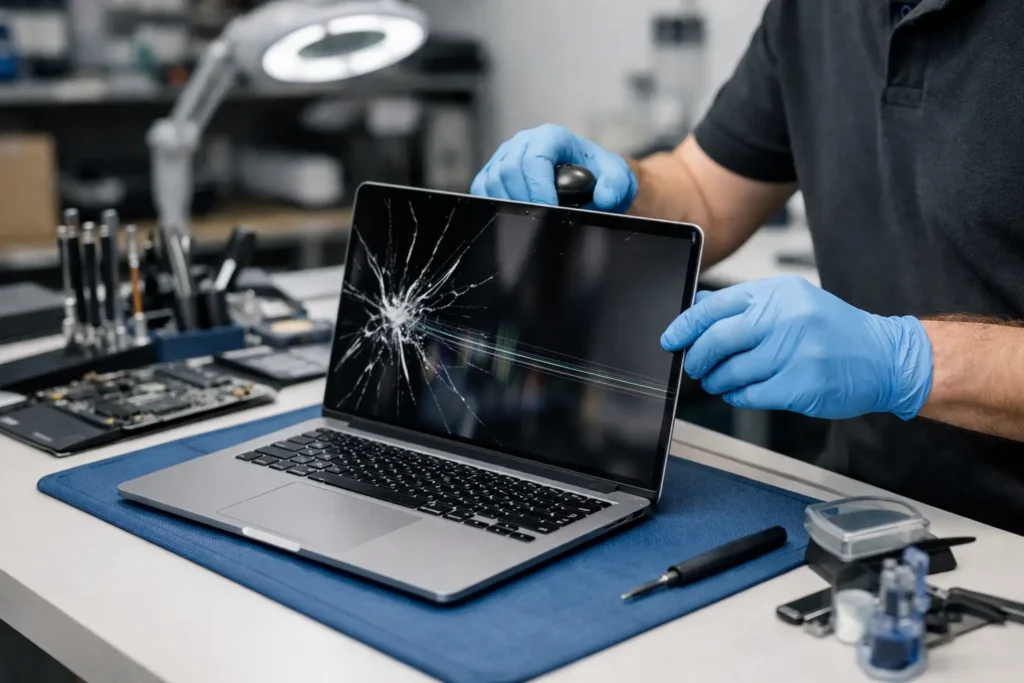
A few symptoms usually point towards professional repair rather than DIY troubleshooting. One is a console that trips the power brick immediately or blows a fuse again after replacement. Another is visible corrosion, especially after liquid exposure. A third is intermittent power – the console works only when pressed, flexed or positioned a certain way – which can indicate cracked solder joints, damaged ports or internal board stress.
You should also be cautious with consoles that have already been opened elsewhere. Missing screws, torn connectors, damaged fan sockets and poor paste application can all complicate the original fault. In those cases, a proper inspection saves time because there may be more than one issue causing the no-power symptoms.
Why proper diagnosis saves money
Power faults are one of the easiest categories to misread. A customer may assume the console is beyond repair when the issue is just a failed PSU. Equally, they may buy a replacement power brick online, only to find the real problem is a short on the motherboard.
That is why good diagnosis comes first. It avoids spending money on parts that do not fix the fault, and it reduces the chance of causing secondary damage through repeated test attempts. For local gamers and families, especially when a console is shared at home, getting an answer quickly matters almost as much as the repair itself.
At TechLab Repairs, this is exactly why we start with clear fault finding rather than guesswork. It is the quickest route to knowing whether the problem is simple, economical to repair, or serious enough that you need to weigh repair against replacement.
A sensible next step if your console will not power on
If you have checked the socket, cable, display setup and accessories and the console is still dead, stop there before the fault escalates. The safest approach is to have the power path tested properly, from external supply through to the internal rails and board condition.
Some power faults are straightforward. Others hide behind the same symptom. A console that will not turn on is not always finished – but it does need the right diagnosis before anything else. Don’t let a broken console slow you down when a careful check today can save a much bigger repair tomorrow.