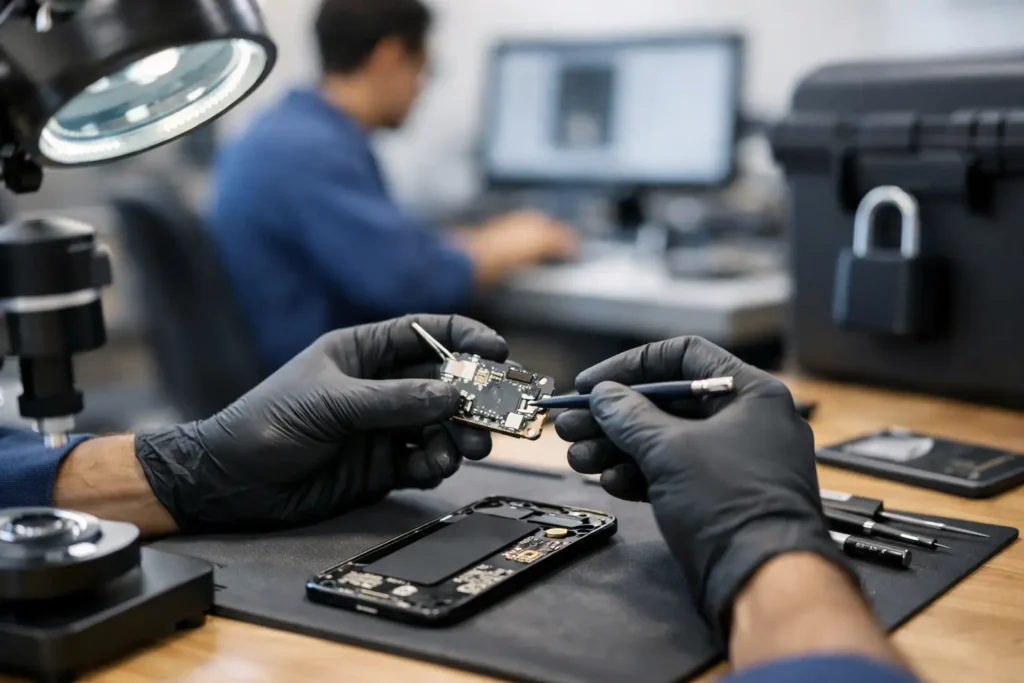
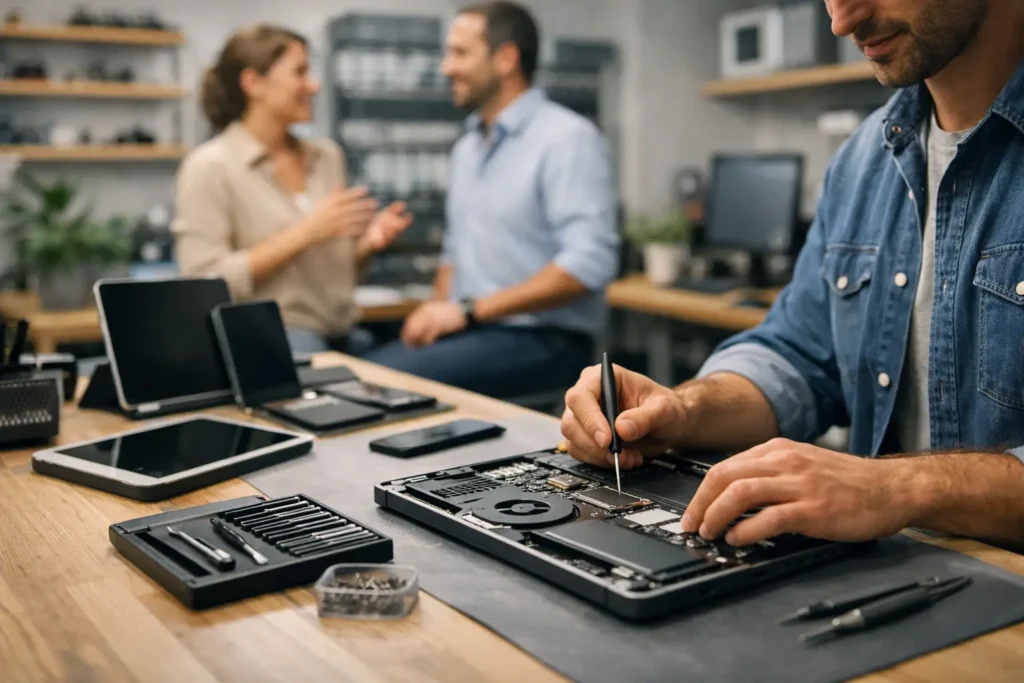
What a Secure Device Repair Process Looks Like
See how a secure device repair process protects your data, tracks your device and keeps repairs fast, clear and trustworthy from start to finish.

If you're reading this with a MacBook Air plugged in all day, shutting down at awkward moments, or dropping from a decent charge to a panic-inducing warning far too quickly, you're in the same spot as a lot of people who walk into our shop in Barrow. Most already suspect the battery is finished. Some are right. Some are about to spend money they don't need to spend yet.
That's the first thing worth getting straight. A MacBook Air battery shouldn't be replaced just because the laptop is a few years old. It should be replaced because the battery health, cycle count, or real-world behaviour says it's worn out. If you want to replace battery macbook air the sensible way, start with diagnosis, then decide whether DIY makes sense for your exact model, tools, confidence level, and timetable.
A failing MacBook Air battery usually shows up in ordinary daily use before anything dramatic happens. The laptop won't comfortably last through work or lectures. It spends more time attached to the charger than in your bag. Sometimes it drops charge unevenly or feels unreliable enough that you stop trusting it away from a socket.
Before you buy parts or book a repair, check the battery health built into macOS. That gives you something firmer than guesswork.
On a MacBook Air, look in the battery settings and System Information for the two details that matter most:
Apple's design benchmark is the most useful baseline here. Built-in MacBook batteries are engineered to retain up to 80% of original capacity after 1,000 complete charge cycles, and once a battery drops below that level or begins showing a service recommendation, replacement becomes the evidence-based next step rather than guessing by age alone, as outlined in this MacBook battery health guide and supported by Apple-related repair guidance summarised at CTech IT Solution's battery replacement overview.
A battery can still be within spec even if the machine isn't new. That's why replacing too early is common. People often assume “older laptop” automatically means “dead battery”, when the true test is health and behaviour.
Practical rule: If the battery is still behaving normally for your day and the health figures don't point to serious wear, leave it alone.
There are a few signs that move the decision from “maybe” to “yes”:
The best repair decisions are boringly measurable. Check the numbers, compare them with how the laptop behaves, and only then decide whether to replace battery macbook air parts or keep using it.
Most DIY MacBook Air battery jobs go wrong before the bottom cover even comes off. The usual cause isn't bad luck. It's ordering the wrong battery, grabbing the wrong screwdriver, or starting without confirming the exact model.
Turn the machine over and check the small print on the underside, or open “About This Mac” and identify the model properly before you order anything. Don't rely on “13-inch Air” alone. That's too vague to be useful when batteries, screw layouts, and internal design can differ between generations.
If you've got an older Intel Air and want a model-specific example of the sort of part fitment you should verify, this MacBook Air 13 A1369 A1466 battery replacement listing shows the level of matching you should be looking for.
A mismatch creates problems fast. The connector may differ, the screw positions may be wrong, or the battery shape may not sit correctly in the chassis. Once that happens, people start forcing components, and that's where connectors, speaker cables, and trackpad areas get damaged.
MacBook Airs don't reward improvisation. A kitchen drawer screwdriver set usually makes the job harder, not cheaper.
Keep this checklist simple:
Use the exact driver that fits cleanly. If the bit wobbles, stop. Rounded screw heads are one of the most common self-inflicted delays.
The cheapest battery online isn't always the cheapest repair. What matters is fit, connector quality, cell condition, and whether the supplier is clear about compatibility. Listings that are vague about model support should make you cautious.
A sensible buyer looks for:
This is also where honesty matters. Some MacBook Air batteries are realistic DIY jobs. Others are technically possible, but awkward enough that many people would be better off handing the machine to a technician before the “simple battery change” turns into a connector repair as well.
This is the part people search for when they type replace battery macbook air, but the method depends heavily on the year and internal layout of the machine in front of you. Treating all MacBook Airs the same is a mistake.
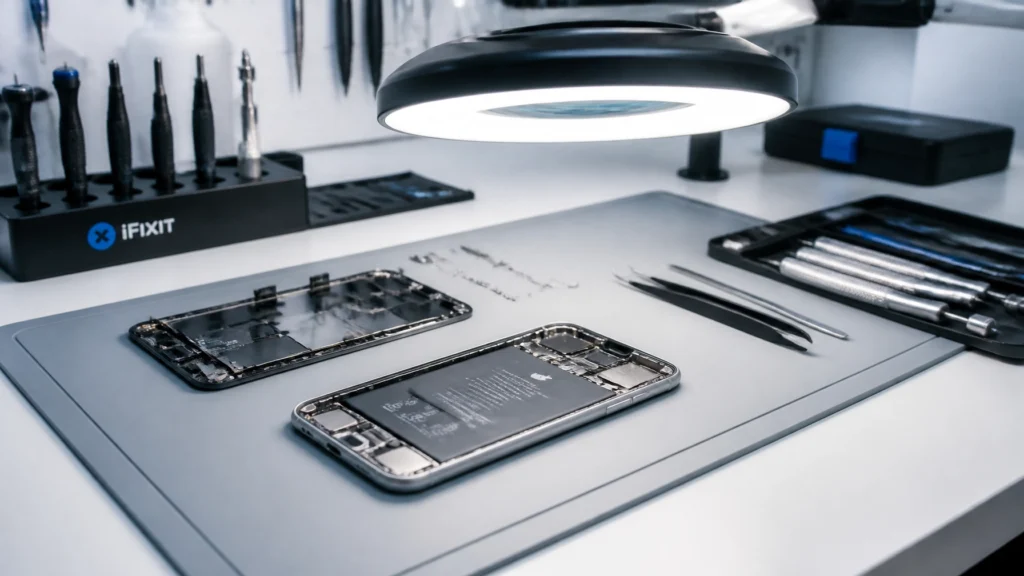
The practical workflow is straightforward in principle: fully shut down the laptop, remove the bottom case with the correct pentalobe driver, disconnect the battery first, then remove retaining screws. Pre-2018 MacBook Air models are typically screw-retained, while 2018-and-later models use adhesive pull tabs, which adds failure risk if the tabs snap and makes the job harder, as noted in the iFixit MacBook battery replacement guide.

Shut the MacBook Air down fully first. Don't leave it asleep. Once it's off, remove the lower case carefully and keep the screws in order as they come out.
That matters more than many people expect. On the bench, two screws can look almost identical and still belong in different places. Put a longer screw into the wrong hole and you can create a fresh problem during reassembly.
If the cover doesn't lift easily, don't lever wildly around the edges. Gentle, controlled pressure is the goal. You're opening a laptop, not opening paint.
As soon as you can access the battery connector, disconnect it. That's the first internal move for a reason. Leaving the battery connected while you work increases the chance of accidental shorting if a tool slips or a connector gets nudged.
Use a plastic tool rather than metal. A spudger is ideal here because it gives you control without adding conductive risk near small board components.
The step people rush is the step that protects the entire machine. Disconnecting the battery first is what turns a risky job into a manageable one.
This same caution applies across battery-powered devices. If you've ever worked on handheld gaming hardware, the discipline is similar. For anyone who repairs more than one kind of gadget, parts references such as DigiDevice portable console power solutions can be useful for understanding how battery fitment and connector handling vary between compact electronics.
Older MacBook Air models are generally kinder to DIY work because the battery is usually held in place with screws. Once the battery is disconnected, remove the retaining screws methodically and lift the pack out without bending it.
Newer MacBook Air models are where patience starts to matter more than confidence. Adhesive pull tabs can work well when they behave. When they don't, they become the point where many home repairs go sideways.
If you're dealing with adhesive:
A punctured battery can become dangerous very quickly. If the cell looks swollen, feels unstable, or the adhesive fight is turning rough, that's a good moment to stop the DIY attempt.
Set the new battery in place without forcing alignment. It should fit the space it was designed for. If screw holes don't line up naturally, something is wrong. Usually that means the battery is incorrect for the model, or it isn't seated properly.
Reconnect only after the battery is physically seated as intended. Then refit any screws or securing points carefully, checking that cables aren't trapped and that nothing has shifted under the pack.
A clean install usually follows this rhythm:
Don't over-tighten. MacBook screws are small, and stripped threads are a miserable way to finish a repair.
Once the cover is back on, the job isn't finished. A new battery still needs a proper first check and a sensible settling-in routine.
Power the MacBook Air on and confirm that macOS recognises the battery normally. If the machine boots but doesn't seem to register the battery correctly, shut it down again and recheck the internal connection before assuming the new part is faulty.
Look for the basics first:
If all of that looks normal, you've cleared the most important hurdle. If not, don't keep cycling the charger in and out repeatedly. That usually wastes time and can muddy the diagnosis.
After a battery replacement, it helps to give the system a full, clean charge-and-discharge cycle so the power readings settle properly.
Use this routine:
A new battery can be healthy and still report oddly at first. Calibration is about accuracy, not magic performance gains.
After that, pay attention to ordinary use. The battery percentage should behave more sensibly, and the machine should feel dependable again away from the charger. If it still doesn't, the issue may be installation-related, part-related, or tied to another hardware fault that a battery alone won't fix.
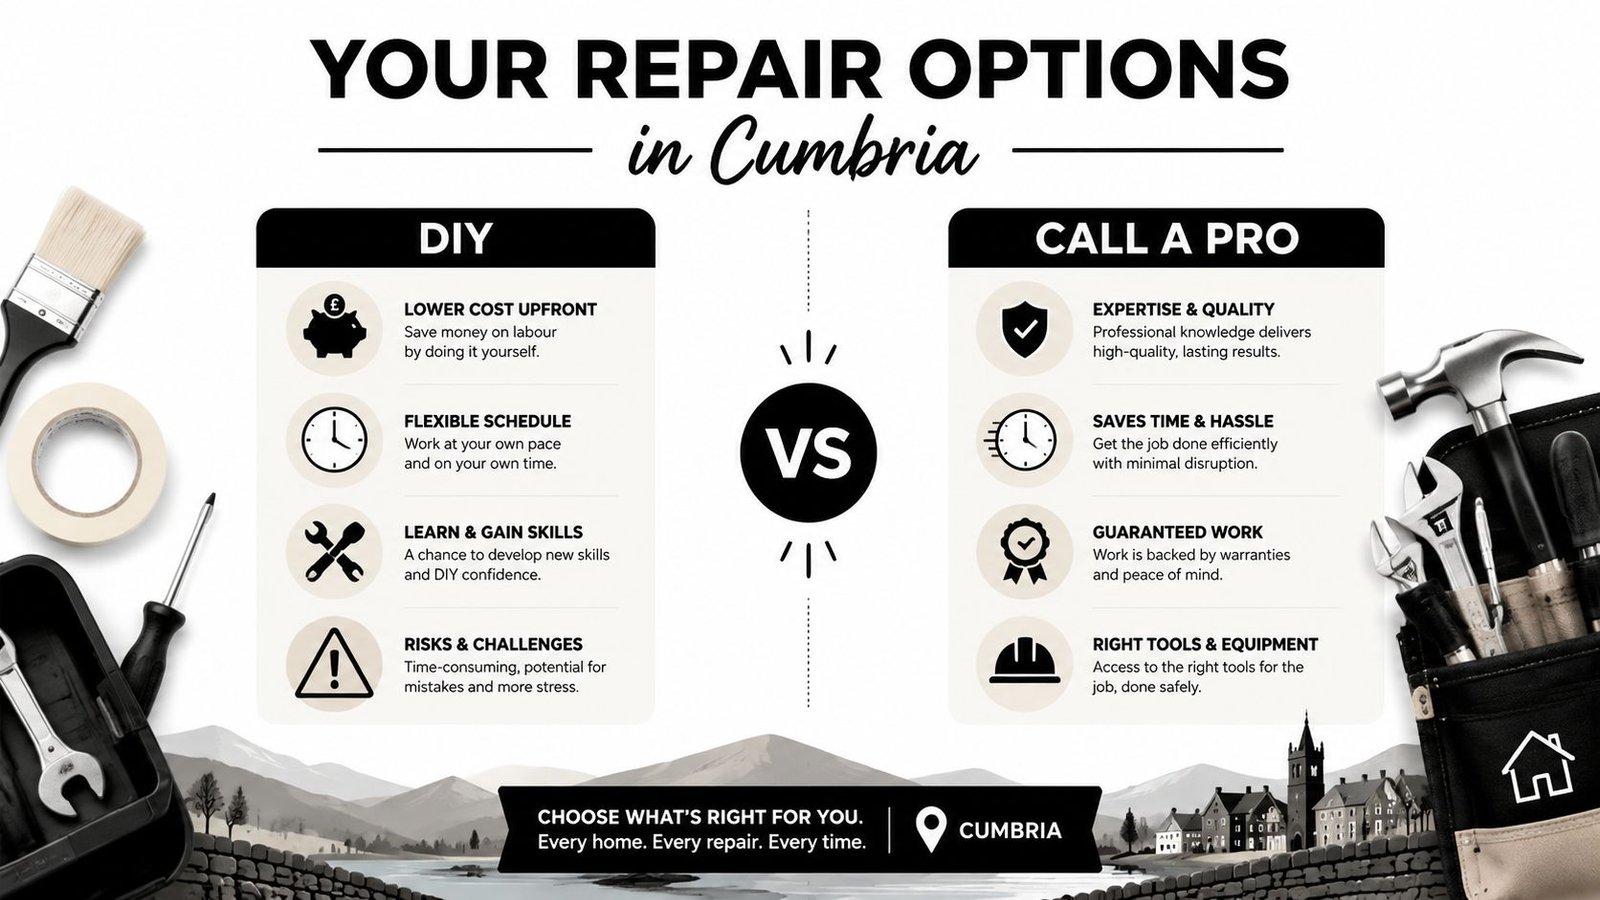
This is the critical decision point for MacBook Air owners in Cumbria. Not “can a MacBook Air battery be replaced?” It can. The better question is whether you should do it yourself, hand it to Apple, or use a local repair shop that deals with this type of work all the time.
Apple's own battery service guidance is useful here because it acknowledges both sides of the argument. DIY kits can save money versus Apple's out-of-warranty repair costs on some models, but Apple also warns that built-in batteries should be serviced by trained providers using genuine parts to avoid damage, which is why many owners end up weighing convenience, risk, and parts confidence rather than cost alone, as explained in Apple's battery service and recycling information.
DIY works best for people who have an older, more straightforward MacBook Air, the correct tools, good patience, and enough spare time that a setback won't ruin the week. If your machine uses screw-retained battery mounting and you're comfortable around small connectors, it can be a reasonable project.
Official Apple service suits people who want the formal route and are happy with the process that comes with it. For some owners, that's the easiest decision. For others in Cumbria, the practical downside is usually distance, scheduling, or being without the machine longer than they'd like.
Local professional repair tends to make most sense when the laptop is needed for work, school, business admin, or daily family use. You avoid the adhesive learning curve, don't need to source tools, and you don't risk turning a battery issue into a board-level one.
For local support, this MacBook repair service in Cumbria is the sort of option people use when they want a nearby technician rather than generic online instructions or a mail-in chain.
| Criteria | DIY (Do-It-Yourself) | TechLab Repairs (Local Expert) | Official Apple Service |
|---|---|---|---|
| Up-front effort | You source tools, battery, and model info yourself | Shop handles diagnosis and fitting | Apple or approved network handles service path |
| Risk of installation mistakes | Highest, especially on adhesive models | Lower because a technician does the work | Lower when accepted through official service |
| Parts sourcing | You choose and verify compatibility | Managed by the repair provider | Handled within Apple's service channels |
| Downtime control | Depends on your schedule and whether anything goes wrong | Often easier for local drop-off users in Cumbria | May involve appointments or travel |
| Best fit | Confident repair hobbyists | People who want a practical local fix | People committed to the official route |
| Stress level | Low only if everything goes smoothly | Usually simpler for busy users | Usually simple, but less flexible locally |
There isn't one right answer for everyone. The right answer depends on the model, the battery mounting style, your comfort level, and how badly you need the machine back in working order.
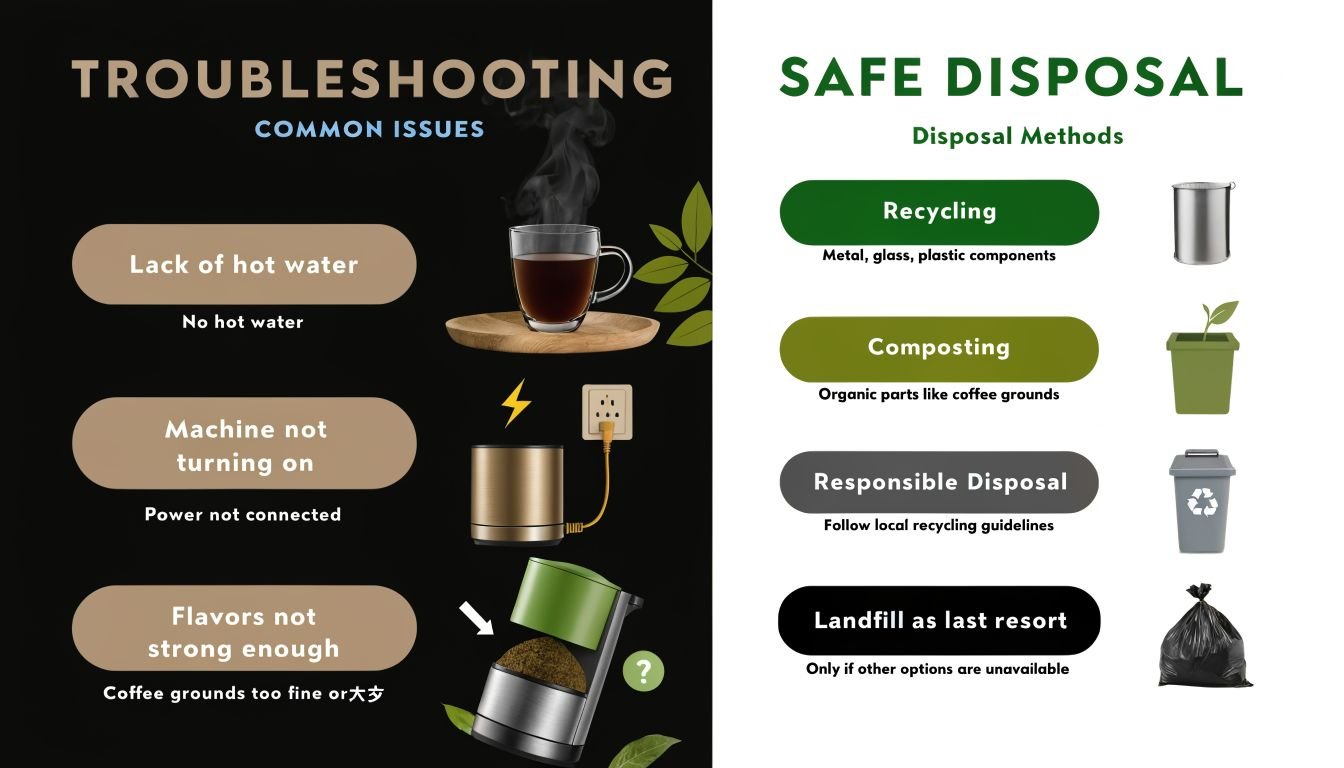
Even when the swap is done carefully, a few problems show up again and again. Most aren't catastrophic, but they do need a calm approach.
Apple's broader repair access changes have made parts more accessible, but they haven't made every MacBook Air battery job equally simple. Battery replacement difficulty still varies sharply by model, especially on newer Airs with adhesive, and for many people in Cumbria a local repair route is the more practical way to reduce downtime and avoid avoidable damage, as reflected in Apple's Self Service Repair support information.
If the MacBook won't turn on, start with the basics. Plug in the charger and leave it a short while before panicking. Then consider whether the internal battery connector may not be fully seated.
If the battery isn't detected properly:
If you stripped a screw, stop trying larger random bits. That usually makes extraction harder. A damaged fastener is one of those jobs where a repair bench, proper tools, and patience matter more than determination.
If the repair starts becoming a rescue job, it's usually cheaper to stop early than to keep pushing and add more damage.
An old MacBook Air battery should never go in the household bin. It's a lithium-ion battery, and damaged or worn cells need proper recycling.
Handle disposal like this:
Responsible disposal matters as much as the repair itself. Extending the life of a MacBook Air is worthwhile. Dumping the old battery unsafely isn't.
If you'd rather skip the risk, TechLab Repairs can inspect your MacBook Air, confirm whether the battery needs replacing, and handle the job locally so you don't have to gamble on tools, fitment, or adhesive removal at home.
Powered by Outrank tool
See how a secure device repair process protects your data, tracks your device and keeps repairs fast, clear and trustworthy from start to finish.
Fixing devices for small businesses keeps teams productive, secure and cost-aware. Learn when to repair, replace and protect essential tech.
Tablet repair turnaround time depends on the fault, parts and testing. Here’s what affects repair speed and what you should expect.
If you’ve ever taken a dead laptop to a high-street shop only to be told, "It’s the motherboard, it’s unfixable," or "You’re better off buying
We’ve all been there. You pull your phone out of your pocket, it slips, and you watch in slow motion as it hits the pavement.
If you have recently upgraded your phone or are looking for an iPhone screen repair near me in Cumbria, you have likely heard the term
If you live in Cumbria, you know the drill. When your phone screen shatters or your tablet refuses to charge, the "easy" solution often feels
If you’ve recently updated your iPhone to iOS 26.5.2, you might have noticed something frustrating. Your phone, which used to last until bedtime, is now

If you have just dropped your phone in the sink or spilled a coffee across your laptop, your first instinct is probably panic. You might
It happens in a heartbeat. You’re reaching for your coffee, or your toddler gets a bit too enthusiastic with a YouTube video, and suddenly your